Scantech iReal 2S – As the capabilities of 3D scanners become broader, new workflows become possible. We take a look at a new device from Scantech that supports both blue light as well as infrared scanning, making it ideal for a wide range of scanning jobs
The 3D scanner market keeps on growing. As we’ve discussed before, new technologies and capabilities are becoming more widely available, at a range of price points to suit different budgets.
While it’s still possible to match specific products to specific industries, each with their own niche requirements, many customers face a bewildering task identifying the right scanner for them.
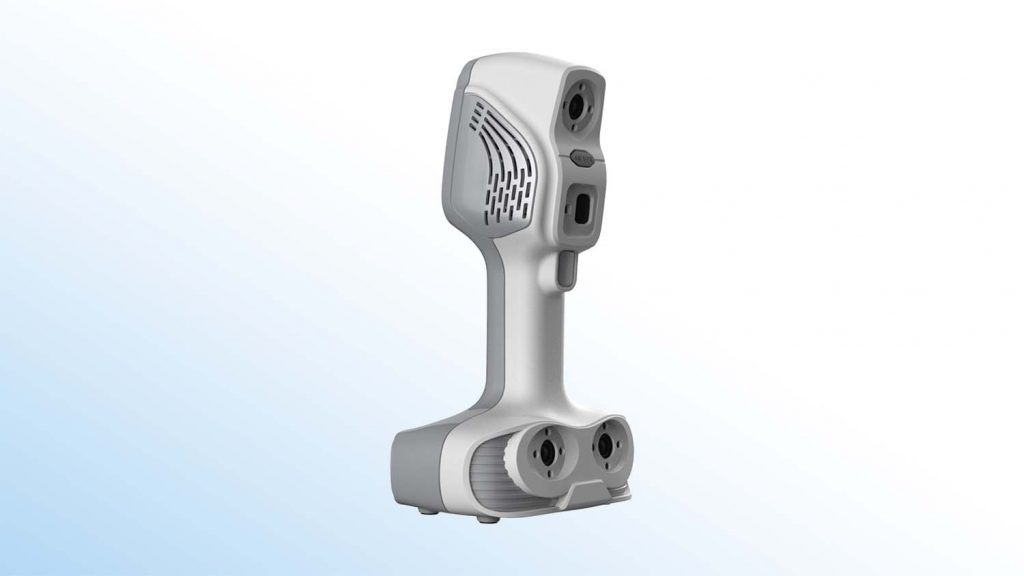
That said, some scanners stand out from the rest in terms of their capabilities. The iReal 2S scanner from Chinese company Scantech is a good case in point, offering blue light and infrared structured scanning in one handheld device.
DEVELOP3D got the chance to put the Scantech iReal 2S through its paces, courtesy of The 3D Measurement Company (T3DMC), the master distributor in the UK for Scantech’s products.
Scantech iReal 2s first impressions
The Scantech iReal 2S is a compact unit and the T3DMC team has done a pretty bang-on job of packaging it up for use. It arrives in a flight case with scanner, cables and USB sticks all tucked away, nice and neatly.
Setup is a breeze, using the software in tandem with the supplied USB-dongle and a simple dual-purpose cable to connect the unit. You’ll need to ensure you have an available high-speed USB 3 slot to hand and a power outlet close by.
The Scantech iReal 2S weighs in at just under 1kg – and considering that this unit is packing both blue light and infrared capabilities, that’s pretty impressive. Once in your hand, the unit is well-balanced and its single button is in easy reach at the front of the device.
The software is pretty simple to use: fire it up and it will take you through the calibration process. The calibration plate is supplied in the flight case. You scan that to get the device working at the appropriate resolution and accuracy. Once that’s done, you can get to work on your scanning jobs.
Scantech iReal 2S in use
As mentioned, the Scantech iReal 2S offers both blue light and infrared scanning. Both use a structured light approach, but given that appropriate use cases and results differ between the two, we’ll deal with them individually in this review. But first, a quick note on tracking, which applies to both methods. Basically, the scanner can track geometry using three different methods: geometry features, texture, and registration markers.
Tracking on geometry features works best when the target is uniform in colour but complex geometrically – think castings, for example. The texture method works best where there’s a good variation in texture and colour across the form of a part. Registration markers, in the form of small, reflective dots, will be pretty familiar to anyone who’s done some scanning in the past, and the iReal 2S can be set to use a mix of these. Typically, some experimentation with methods will be needed to get the best results for your particular use case.
Now let’s discuss the difference between blue light scanning and infrared scanning, as well as how they might be used.
Blue Light: Blue light scanning offers users an upgrade from the white light scanners that dominate the entry level in the professional scanning market.
Using blue light means less interference from ambient light and less scatter of light off your objects, thanks to narrower wavelengths. That translates to a cleaner, crisper scan.
When you’re setting up your job, you’ll see that having the blue light option selected on the iReal 2S will give you a resolution of 0.2mm to 3mm, 0.1m point accuracy, and a scanning area of between 200 x 135 mm ~ 400 x 270 mm within the working range of 300 to 600 mm from your object (400mm is optimal).
There is also a lighting option, which can help reduce shadows and delve into the deeper crevices of organic objects.
Infrared Light: Infrared scanning excels when you need to scan more complex objects, particularly organic forms – for example, the human body.
These days, there are plenty of use cases where engineering teams may need to scan such forms, accounting for human skin, hair and so forth, such as the creation of bespoke medical prostheses. There are a number of reasons for this.
First, infrared is invisible, so you can scan around the eyes without the subject having to close them. Second, it does a particularly good job of scanning hair, something that traditional white light scanners really struggle with. Once in use, the software gives you some pre-baked options for scanning objects, particularly the human body.
While these don’t represent the full capabilities of the system, they serve as a good starting point for test scans. And once you have a feel for how the system works, you’ll be more comfortable diving deeper into the full range of options.
This is where you can define not only the method used, but also the resolution of scan, the tracking method, and whether or not the system is capturing texture maps at the same time as physical form. If you’ve identified an ideal set of definitions for your type of work, these can be saved as a preset, making them immediately available next time around.
Get scanning
So if you’ve got your scanner calibrated and your options defined, let’s get scanning. Hit ‘Next’ and you’ll be presented with the main working screen. There’s a scan viewing window with a range meter to the left. This will show you how far you are from your object while you work.
To begin, hit the button on the front of the unit and it will perform a preview scan. This will show you a preview capture live from the scanner as points on the screen; you’ll also see a preview from the camera view. If everything looks good, hit the same button again and you’re scanning.
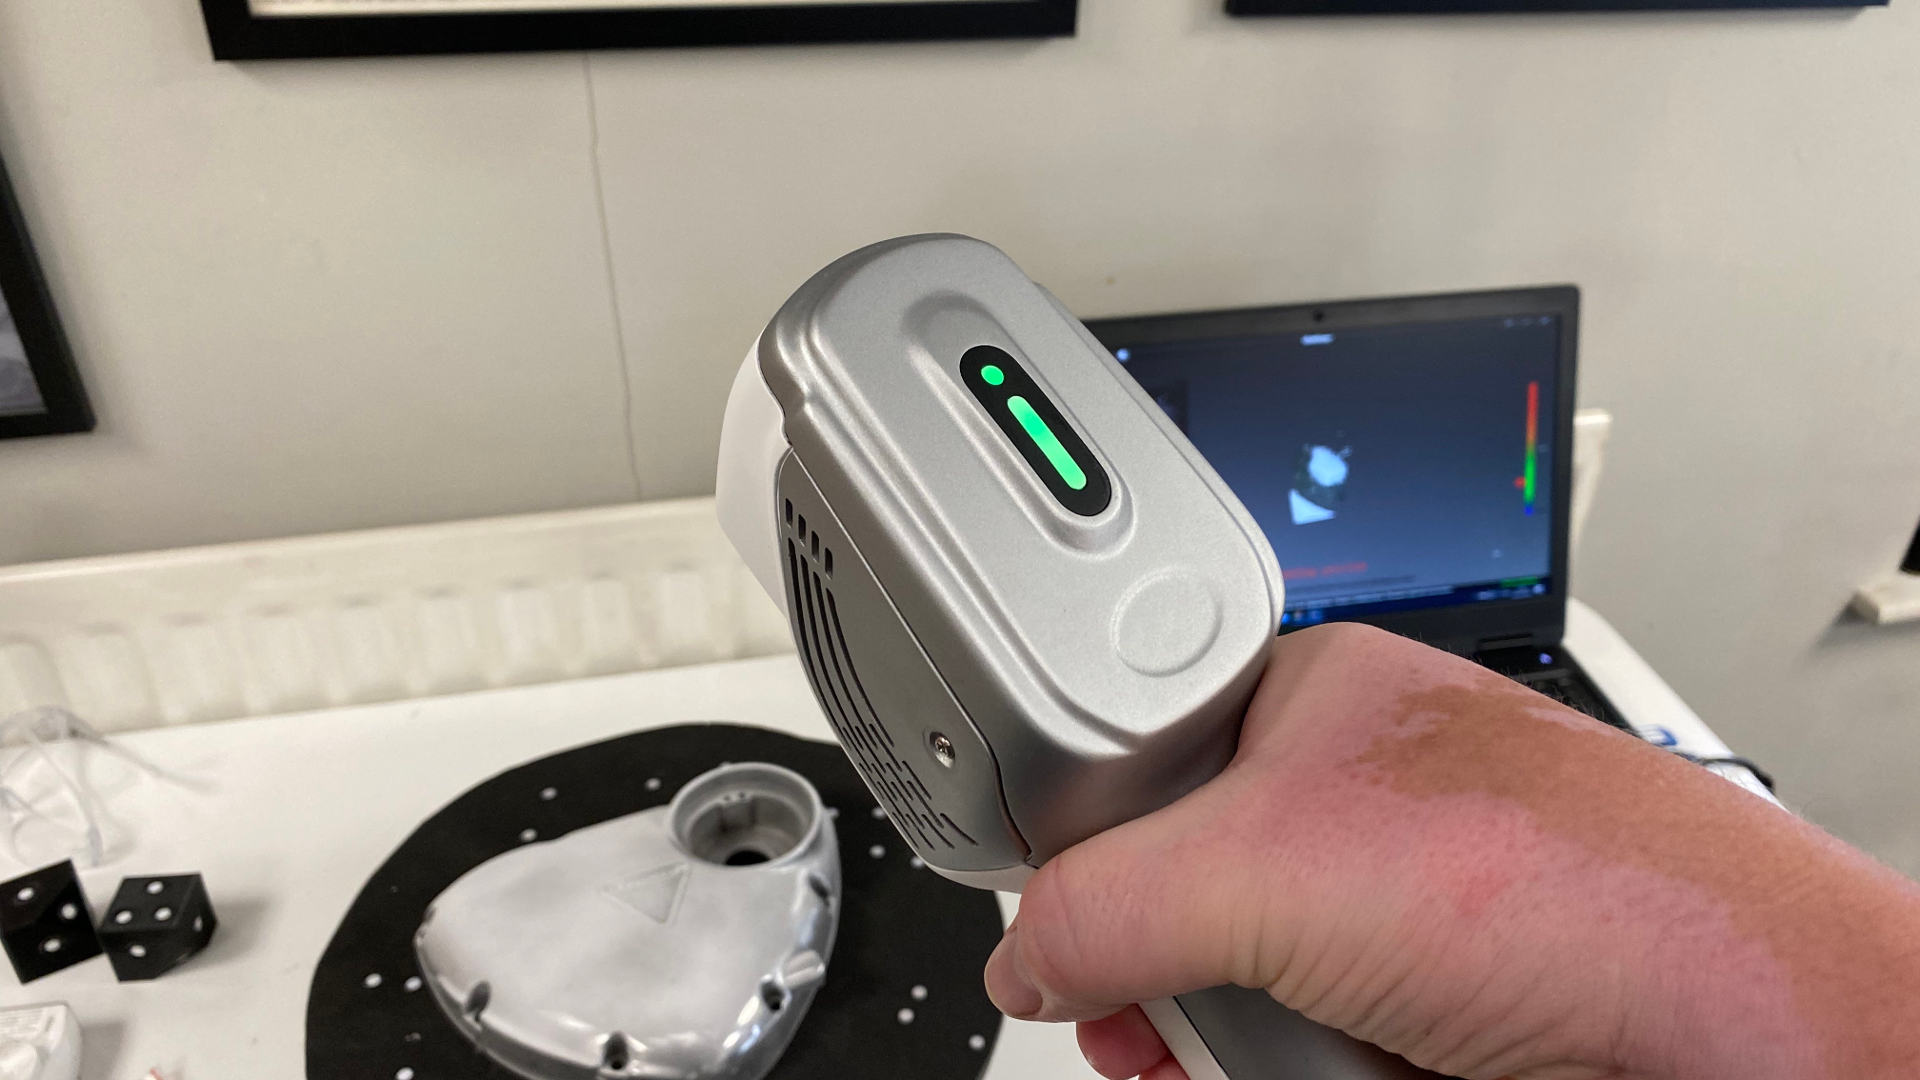
Depending on the options you have chosen, you’ll see the geometry and texture start to appear on screen as you move around the object (or indeed, rotate the object in front of the scanner). What you’ll also see is that the on-screen indicator shows you the range between the object and the scanner – around 400mm is the sweet spot for both blue light and infrared modes. But you’ll also notice the coloured gauge on the rear of the unit – something that every manufacturer should add as standard to their scanners – which gives you colour-based feedback.
When you’re done, click the button again to finish. Assuming that you’re going to carry out more than one pass of your target object, you can then dive in and look at your data, identify any gaps and add additional data. With luck, the system will pick up position and let you add it in. If not, you’ll need to perform multiple scans and register them together using the software supplied.
Post-processing & export
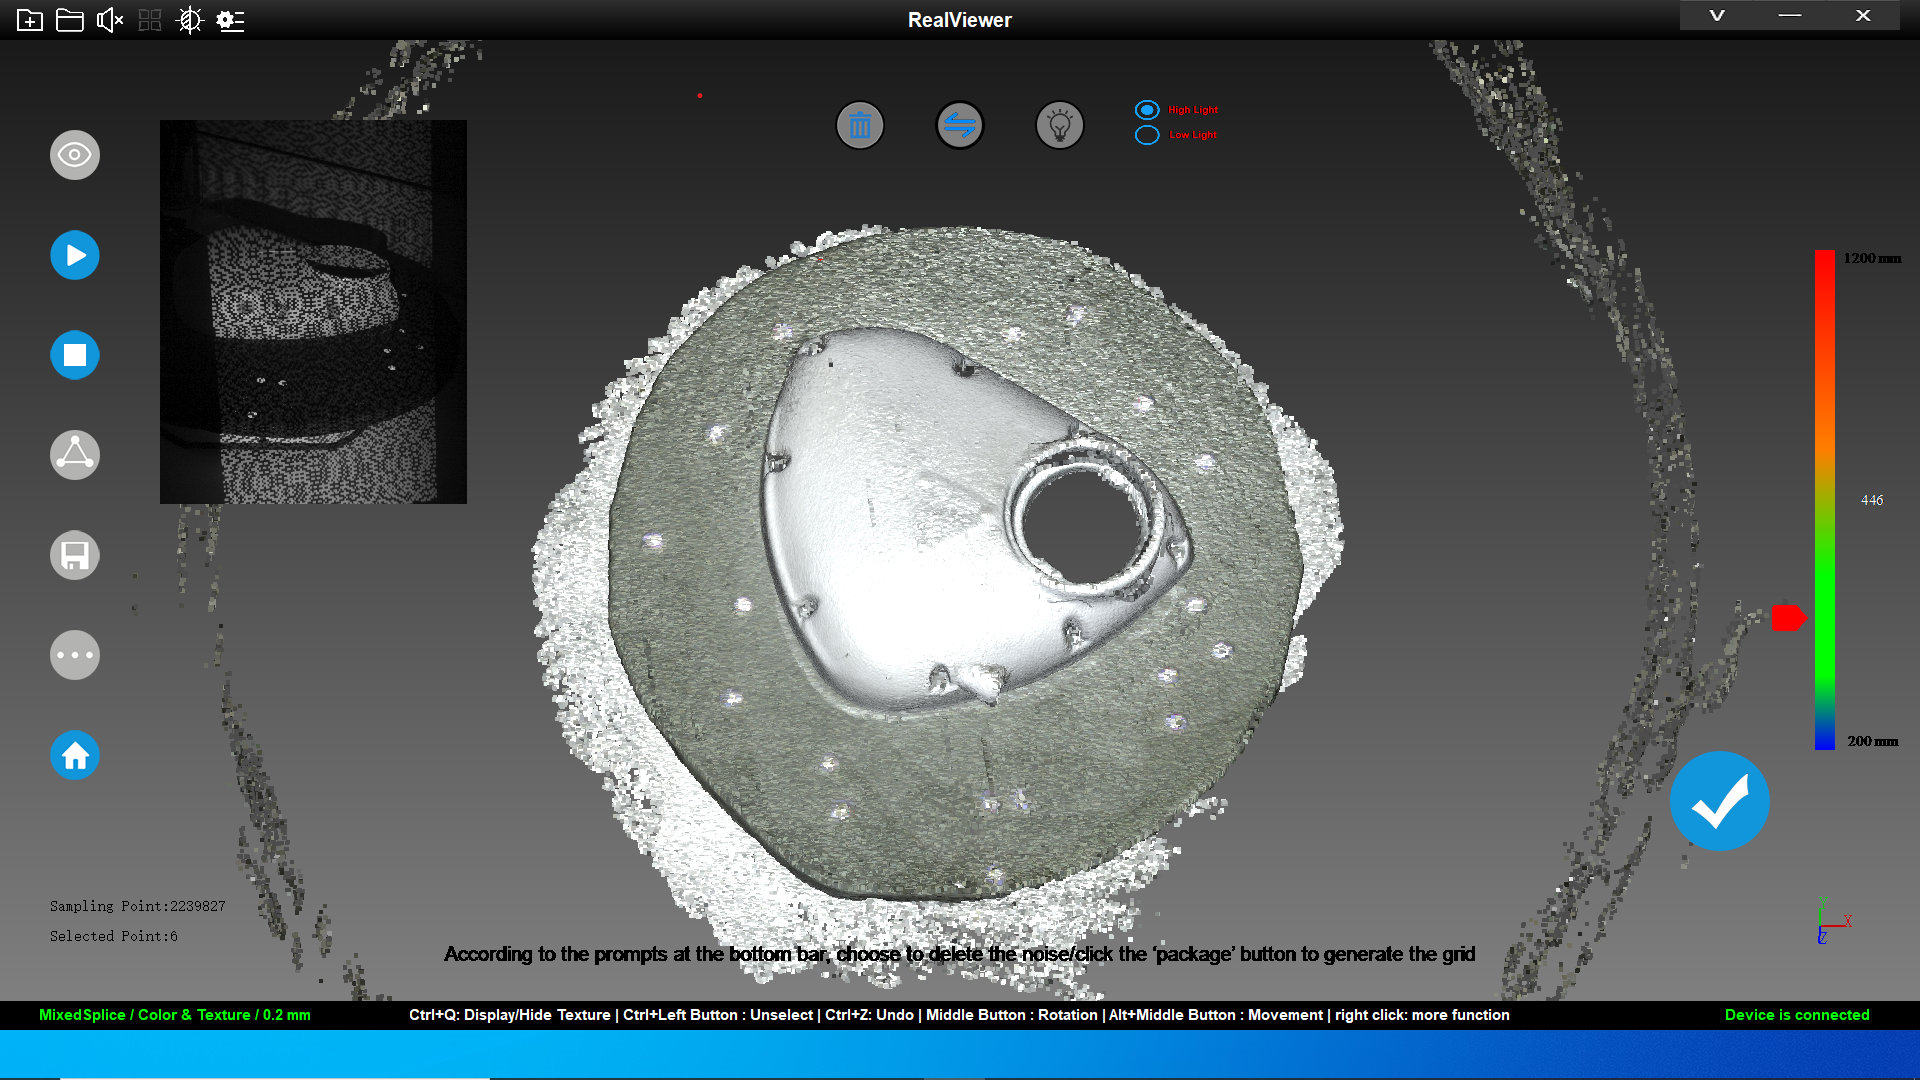
You’ll then need to work through postprocessing. The first step is to trim away excess points from the original scan. This can be something of a learning curve with any system, but once you get the hang of it, it’s pretty easy.
Once you have a good, cohesive set of points that represent your required surfaces, you then end the scan and start turning it into polygons. Again, there are clean-up tools available to remove islands of points or singular clusters that you may have missed. If you captured texture along with your scan points, you can adjust the output texture for brightness/contrast/ saturation, just as you would a 2D image.
You’re then ready to export your data to the format you need. That might be as a simple list of points, if you’re moving it into a points-capable system such as Geomagic or Polyworks. Alternatively, you can tessellate those points into a more readily usable format, such as OBJ or STL.
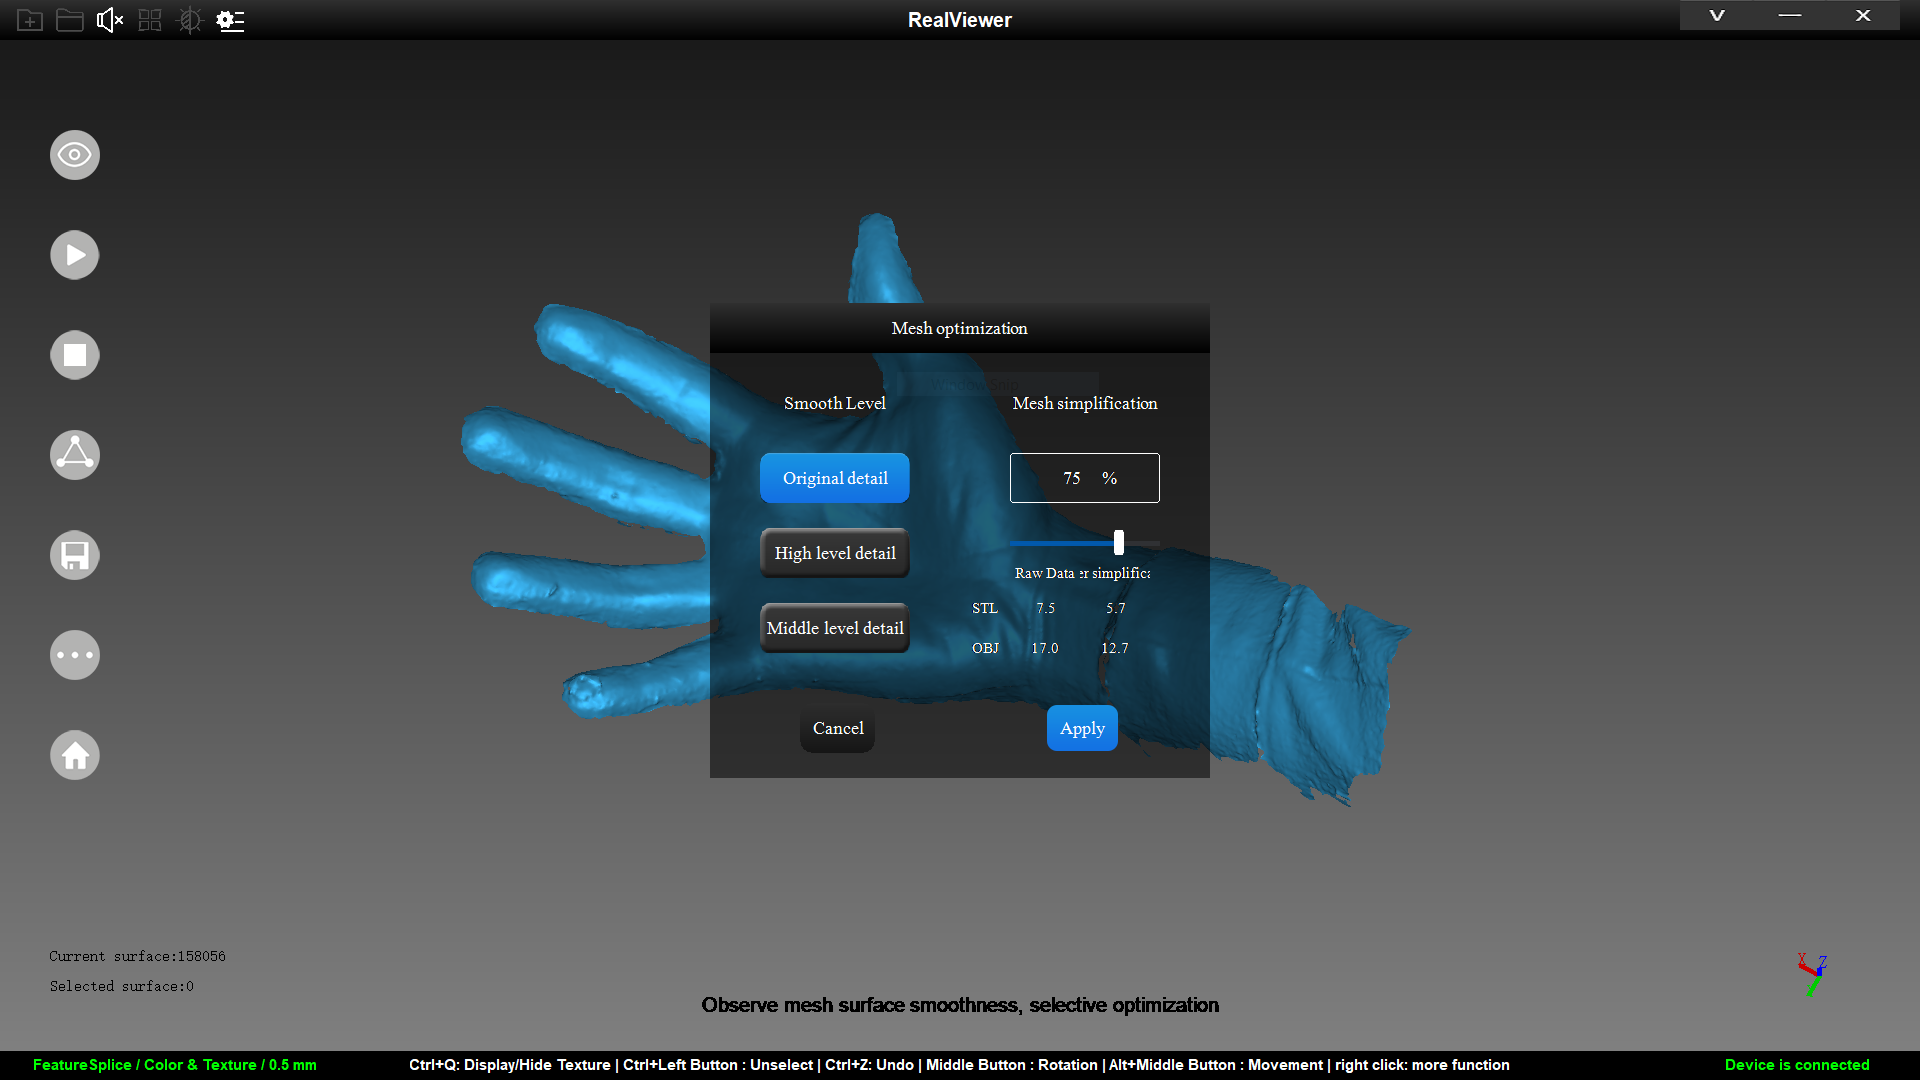
It’s worth noting that the point cloud you’ve created probably needs to be reduced. If you start trying to tessellate off the basis of the one million or so points you’ve captured, you’ll soon find out how bad an idea that is.
A better approach is to reduce those points sensibly and build your tessellation off the basis of a reduced or decimated point cloud. The software gives you a good set of options to accomplish this, presented to the user in a simple dialogue. It also offers a number of presets and gives you a preview of ideal file size compared to the current state – really useful if you’re trying to hit specific limits.
In conclusion
The Scantech iReal 2S is a very interesting bit of kit. The software included is perhaps not as sophisticated as some offerings, but it’ll certainly get you and your data where you need to be.
The combination of blue light and infrared in a single device is compelling. After all, many teams regularly need to capture both hard surfaces and more organic forms, sometimes within the same project.
It’s something many may already be using multiple devices and processes to accomplish, so the iReal 2S offers a real chance to consolidate. The Scantech iReal 2S’s main selling point, however, is the infrared. It’s quick, risk-free and comfortable for human or animal targets. It captures excellent data, appropriate for many workflows. All in all, there’s a great deal to be said for having both blue light and infrared in a single unit, especially one priced under £10,000. Impressive.
Tech specs
» iReal 2S
» T3DMC
» Blue & Invisible light
» 24 bit colour support
» Point to point resolution: 0.200 – 3 mm (blue) 0.500 – 3 mm (infrared)
» Point accuracy: 0.1mm
» Target accuracy: 0.200 mm/m
» Optimal scanning distance to surface: 400 mm
» Scanning area: 200 x 135 to 400 x 330 mm
» Weight: 0.91 Kg
» 12 month warranty with extension options available
» Price From £9,995 + VAT