Additive manufacturing promises to shift part design to a more efficient state, but we still need to ensure that these parts are fit for purpose. Al Dean ponders how these new forms will influence production

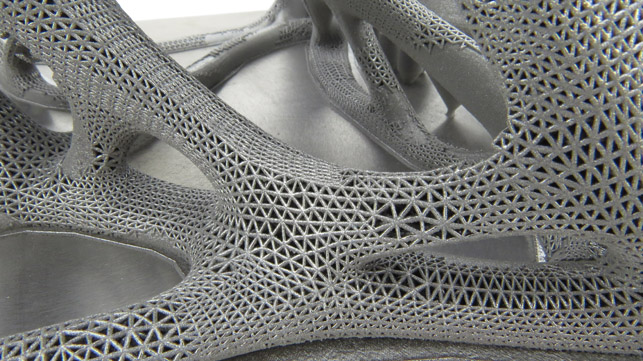
A topologically optimised spider bracket with lattice elements built on a Renishaw AM250. Once produced, how, in the name of all that is holy, can you go about validating that the part you see on screen is the same as what is spat out the machine at the other end?
Today’s groundswell of interest, investment in and development of additive manufacturing is going to have a huge impact on how parts are designed and engineered, but also on how those parts make the transition into production.
Continuing the theme of two reviews this month — VGStudioMax and Vericut — there’s huge possibility to create new and innovative forms using these technologies, assuming that the economics work out.
The primary reason that the aerospace and high-end automotive industries are evaluating the use of radical structural optimisation tools is that there are clear fi scal equations available.
Fuel costs are rising, already thought to represent 25-40 per cent of an airline’s operating costs, and these year-on-year increases need to be countered through efficiencies elsewhere.
There are a huge range of estimates and calculations out there, but consider this: British Airways claims that by descaling the toilet pipes on its Boeing 747s and 777s it has saved £600,000 in fuel costs.
With this in mind, imagine the potential for other aircraft equipment. Reducing seat sizes is nothing new, but it’s clear that research and investment in new lightweight structures for such fittings can quickly return that investment.
Now look at the autosport industry — using lighter components with the same structural requirements means better performance, increased speeds and improved handling.
However, extreme light-weighting and exploration of new forms that haven’t traditionally been used in these applications come with a few notable challenges.
Take a look at the lattice in the image above. There are some fascinating structural benefits to using this approach in removing mass from a part but still retaining its core structural strength.
These forms are also readily achievable using a variety of both additive manufacturing methods as well as more traditional casting methods. Yet, as you can see, that fine network of spurs that makes up the structural form is also going to be a nightmare during post manufacture and inspection.
The use of such micro lattices requires that the stresses be distributed throughout the parts. If there are weak points or failures during the build, then you have a much higher probability of the whole part failing.
But how do you go about finding those weak points during the inspection process?
Traditional measurement methodologies can’t be applied — imagine trying to inspect this form on a CMM or using a non-contact laser scanning workflow?
As the use of additive manufacturing methods increases along with new forms of structural part design, so must the wider production process to ensure that the resultant parts are ready to use and appropriate for the task at hand.
Take GE and its recent acquisitions in the additive manufacturing space (it acquired Arcam and Concept Laser), then consider that amongst its many sectors it also has an entire CT scanning division.
Will that mean that the machine vendors will start to develop their own inspection practices? Probably not, but we will start to see more partnerships to close out the end of the process.

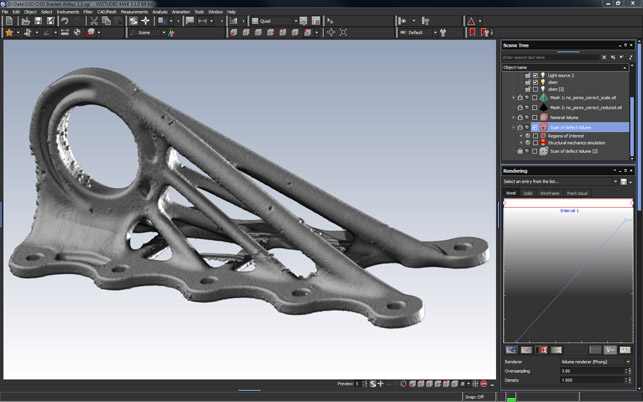
Output from Volume Graphics’ VGStudio Max — a scan of an additively manufactured part with warts, voids, errors and all

Ensuring fit for purpose parts as designs move from screens into production
Default


