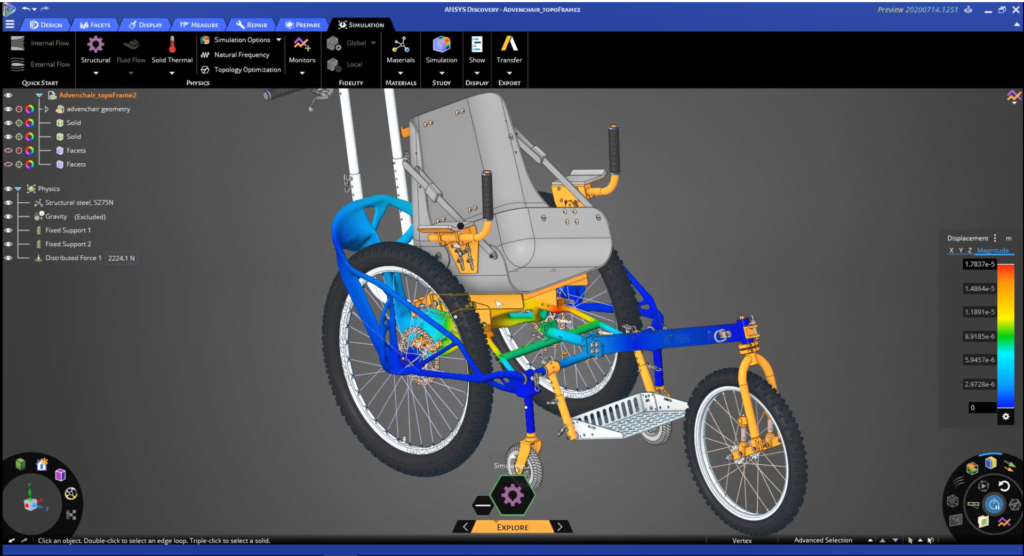
With Ansys Discovery, the simulation specialist combines rapid experimentation with deeper insight into product behaviour in a way that is remarkable to behold, as Al Dean reports
With the launch of Ansys Discovery, Ansys has kicked off a significant expansion of its nextgeneration simulation products. But first, a bit of history, in case you’ve not been keeping a close eye on the company recently: A couple of years ago, it launched Ansys Discovery Live (ADL), which focuses on making simulation much faster to use.
Rather than following the traditional, step-by-step ‘build-mesh-load-solve’ approach, Ansys Discovery Live uses new technologies that take advantage of GPU compute power in order to obscure a good deal of the complexity of this multi-step process.
The result is a near-real-time simulation system for both fluid flow and static structural problems.
Discovery Live has since grown in capabilities and has also become a core part of PTC’s simulation offering, with its integration into Creo 7. But the issue here – as always with simulation – is that when you boost speed dramatically, you typically experience some kind of trade-off.
To put it bluntly, there is an element of ‘close enough’ with Discovery Live.
For many users, that’s fine. Others, by contrast, much prefer finer, more accurate results over speed.
And even for that former, ‘close enough’ group, an issue with ADL is that while it provides them with quick insight into product performance and a way to vastly accelerate experimentation with the interplay of form, function and physics, this is achieved at some remove from their validation tools.
All of which brings us to the present day. Ansys has now launched a system – Ansys Discovery – that builds not only on the work done with Discovery Live, but also with other products in its portfolio, including Ansys AIM.
In short, the company has delivered a system that enables users to carry out fast-paced experimentation using real-time solvers, but subsequently validate them further, as needed, using a more traditional solver (such as Ansys Mechanical or Fluent), just as they might in a more traditional workflow.
So, shall we explore Discovery?
Ansys Discovery user interface
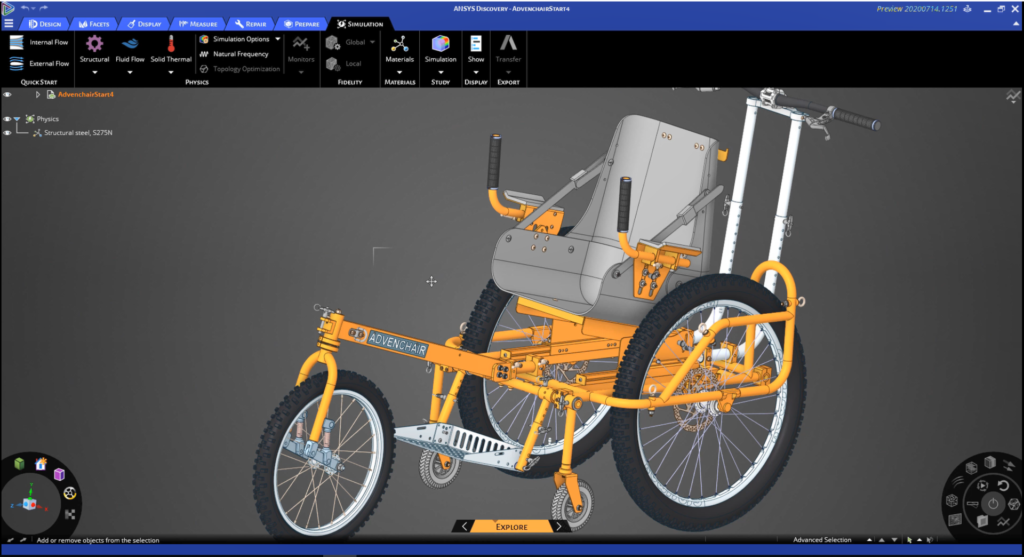
The first thing that’s going to hit you when you open up Discovery is that the user interface is configured a little differently to other systems. The basics will be familiar – a ribbon across the top, offering operations categorised either by overall function (such as display) or by workflow step (design, prepare and so on).
You’ll see a tree to the upper right that gives you control over your geometry tree as well as the physics that you have defined. You’ll also notice three items at the bottom of the large model interaction window.
To the left, you have a radial menu that gives you access to display controls (shading scheme, for example), standard views, and the familiar view cube/triad control.
In the centre, meanwhile, you’ll find another widget – the stage navigator. This is where you’ll control the stage you’re at in your simulation process and where you will receive information about the task you’re working on.
This includes solving status, but also feedback on what the system needs to complete a study – we’ll explain more about this in a moment.
To the right, you’ll see the solve and results widget. This gives you direct control over starting and pausing your solves, as well as post-processing options that enable you to control the results that are displayed on screen. To see how this all works, let’s work step by step through a job.
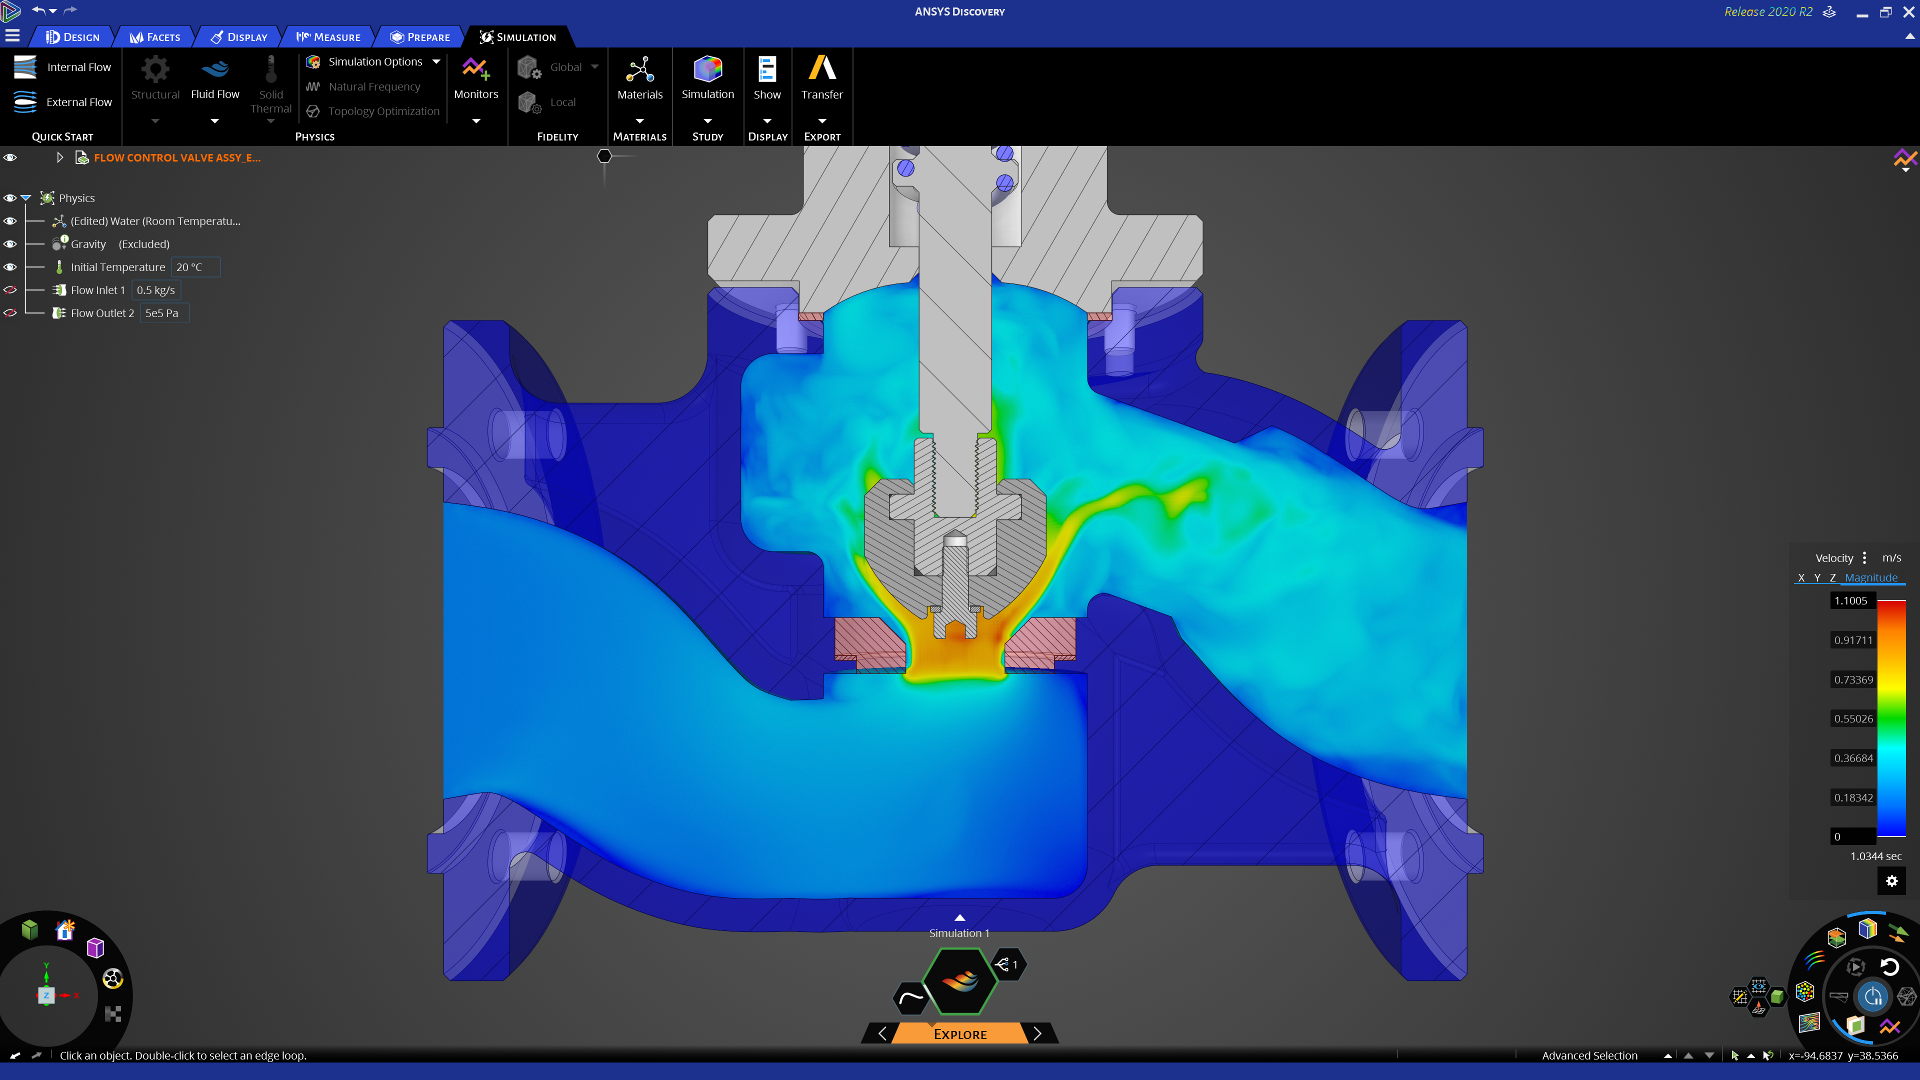
Ansys Discovery in use
The first step, as usual, is to define the geometry for your simulation study. To do this, ensure that the stage navigator is set to ‘model’. This will bring up all of the model handling tools you’ll need.
While many simulation tools require that you import the geometry from another system, Ansys Discovery has the benefit of being built on top of the SpaceClaim platform.
This gives you a number of advantages. The first is that your import options are wide and pretty well-rounded-out.
There are not many geometry formats the system can’t work with; these include analytic geometry in both native and standard formats, as well as mesh data. (In fact, SpaceClaim comes with some very nifty mesh-editing tools.)
You also have the option to model up your geometry from scratch, using SpaceClaim’s direct modelling tools. The reality is that, for most projects, you may well be using both kinds of geometry – particularly when you start to explore the interactive experimentation that’s possible here.
Either way, assuming that your geometry is in a fit state, your next step is referred to as ‘Explore’ in the stage navigator.
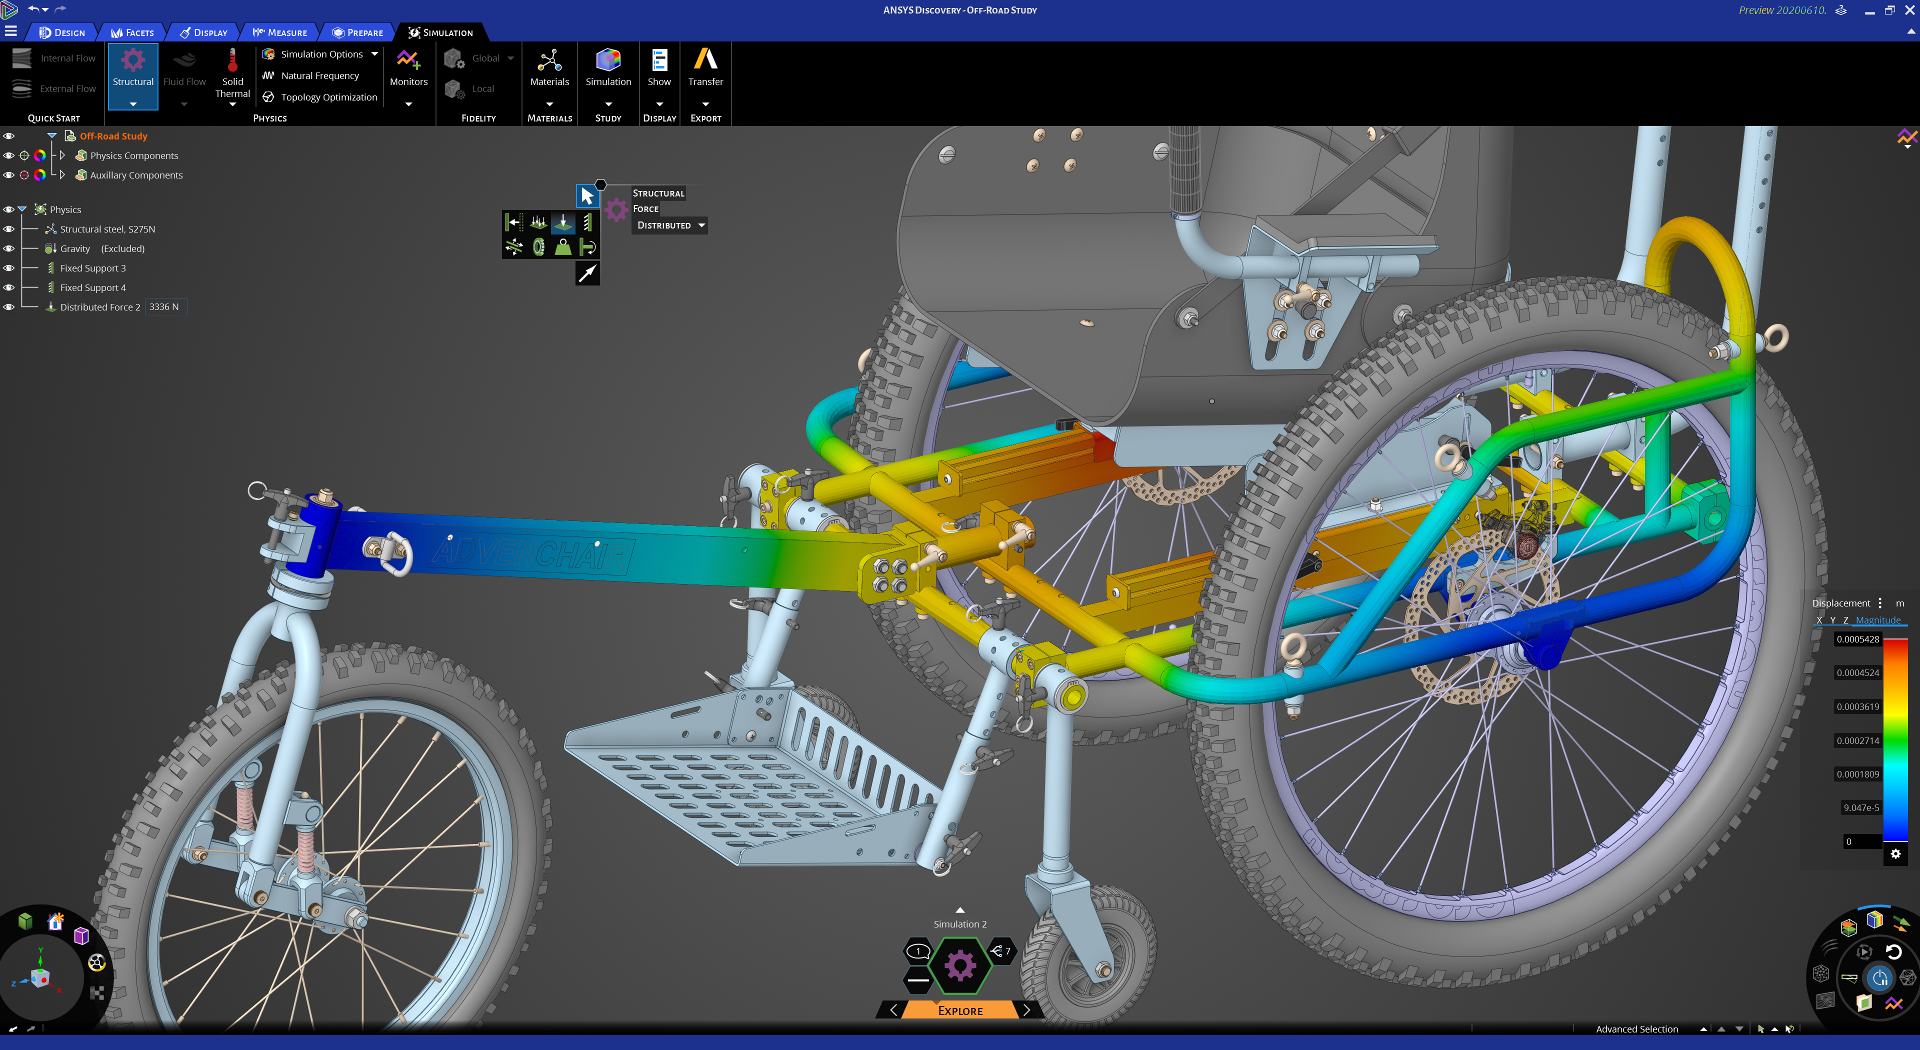
Explore mode – time to experiment
This is the stage that follows the existing Ansys Discovery Live capabilities most closely. The goal is to take your geometry model and start to add in physics-related information.
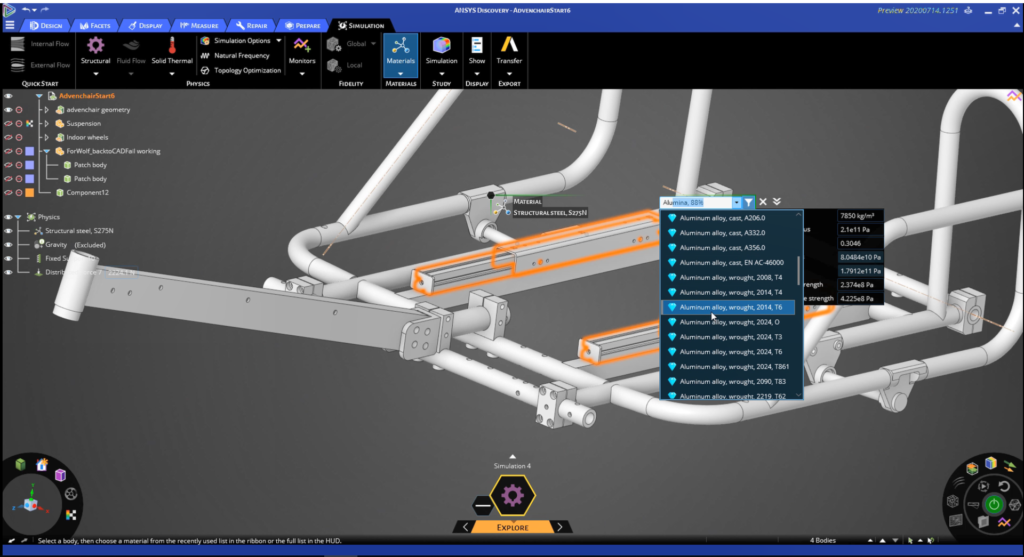
This ranges from things like material definition for the parts in your project to adding in your physics attributes. (For the former, there’s a good pre-built library, acquired in the purchase of materials data specialists Granta a while back. This can, of course, be expanded.)
Ansys Discovery can carry out both structural mechanical studies (for stress/ strain, modal simulation and so on), as well as thermal and fluid flow studies.
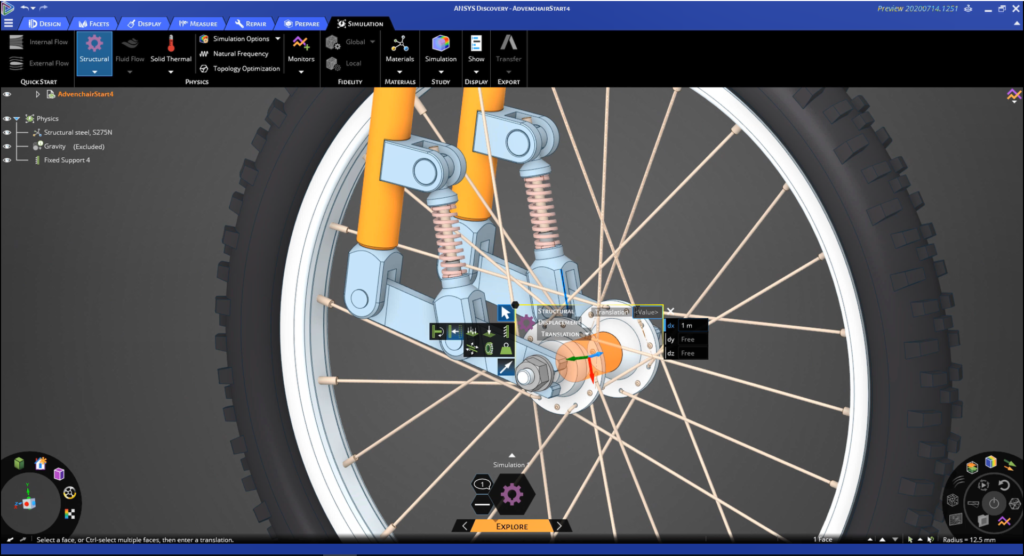
What Ansys has done is remove the need to define the type of study you’re carrying out at this stage. Simply add in the physics entities and characteristics of the model and the system tells you when it’s got enough information to begin solving in real time.
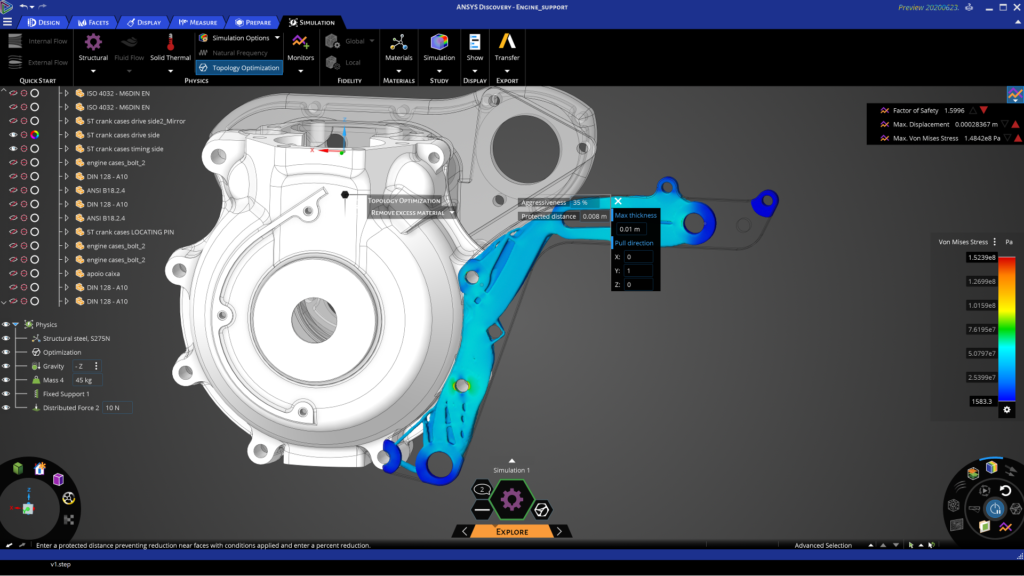
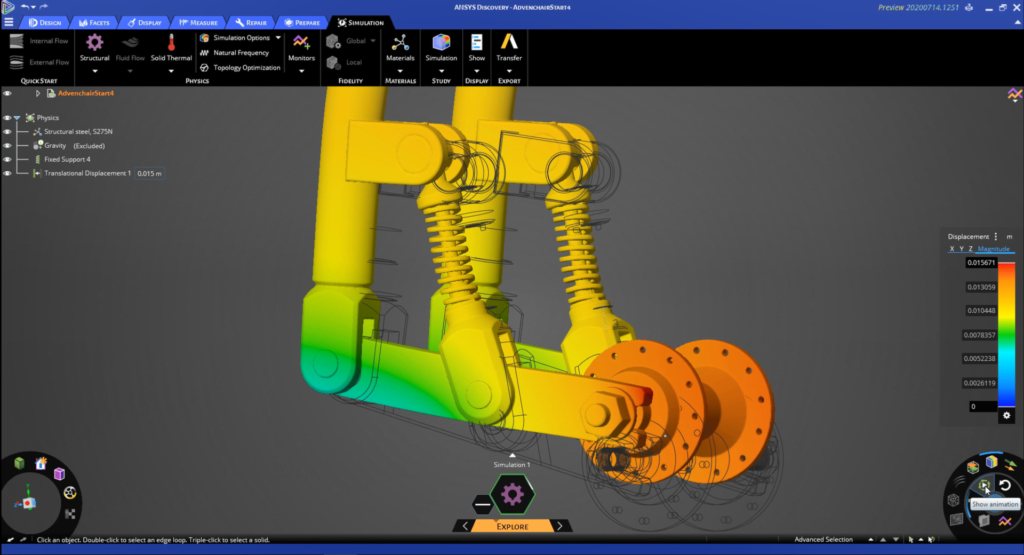
Taking the example of the bracket shown in Figure 1 (above), we added in the materials, loads and constraints. Once sufficient information is defined, you’ll notice that certain areas activate.
One to pay close attention to is the simulation information display, situated above the stage navigator. This gives you visual feedback about whether you’re ready to solve, the status of a solve, and what’s still missing. As with all simulation systems, there are often points in the process where things get missed, or you’ve failed to provide enough information.
You’ll be prompted about what needs doing by a hexagon with a speech bubble that appears. From here, you can also set up new studies within that project. This will be key later on.
Assuming that you have your study fully defined, the next step is to start solving. This is done by hitting the green power icon to the right of the screen, switching on the interactive solver. You’ll start to see your simulation results stream into the window. I’ve been playing with this technology from Ansys since its launch and it still amazes me that you can get results back so quickly – whether you’re performing structural studies, fluid flow simulation or solid thermal.
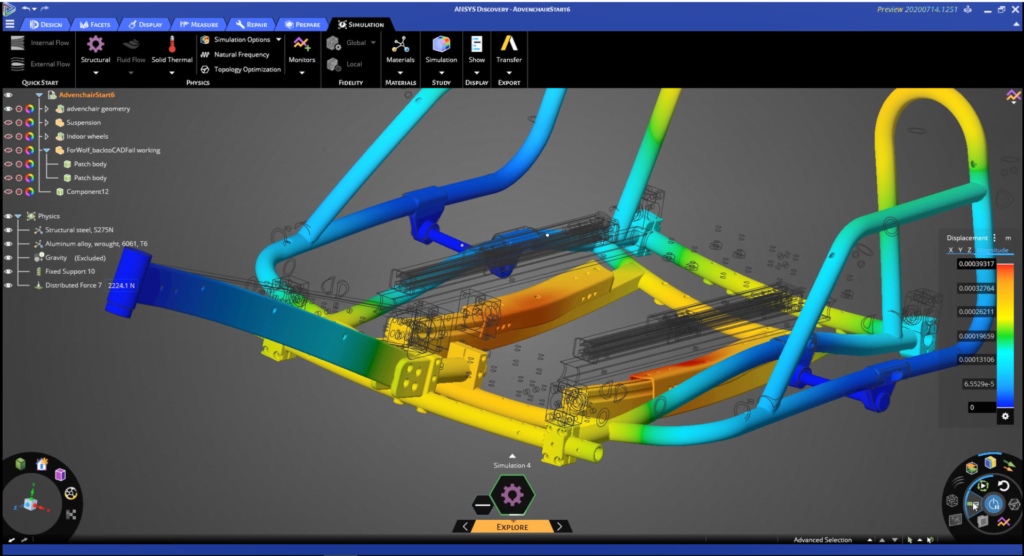
Because of the system’s interactivity, it’s entirely possible to experiment with both geometry and physics along the way. You can quickly try out new material options, geometry forms and loading conditions, for example. If you make edits to any of these, your results will stream back in as soon as you finish. And, if you find that too distracting, you can return to the power icon and pause the solve while you make your edits – then switch it back on.
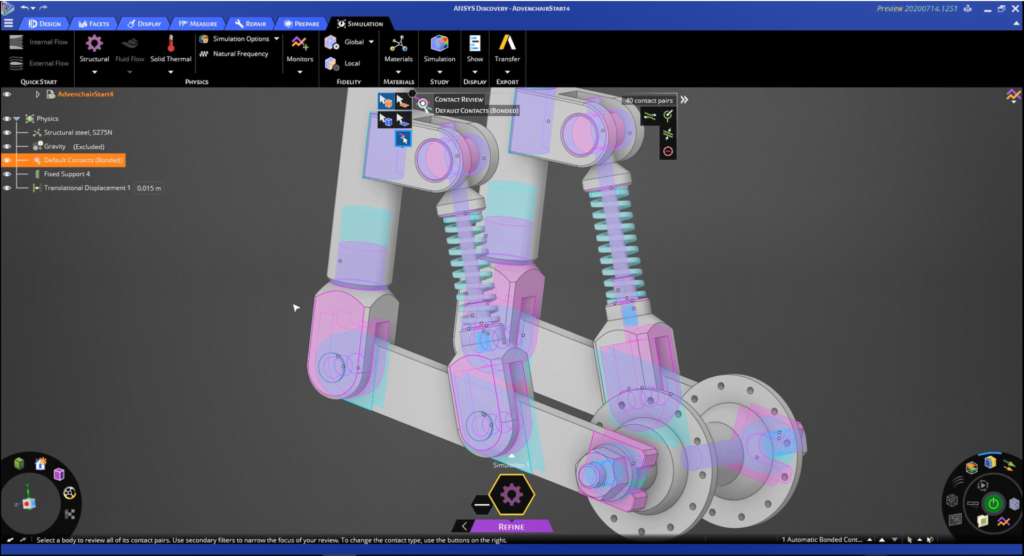
It’s important to note here that while you can bring in complex assemblies, careful use of that data is advisable. Strictly speaking, you should only apply the physics to those parts where doing so is appropriate and define proper contact conditions between them.
Fortunately, that’s easy to do – but it’s also essential for efficient use of the system. It’s also worth noting that Ansys Discovery also includes topology optimisation, allowing you to optimise for stiffness, mass reduction or natural frequency (to maximise or for a target frequency), for example.
Again, set-up is derived from the physics that you’ve already defined, then you add in the topology optimisation targets and the system gets to work. A little more detail on this may be useful, because this is potentially a very valuable implementation of the technology. The system allows you to define offsets from the faces where your load and constraints are applied.
This essentially protects them from material removal. Of course, it’s perfectly clear that other features, which might not have a bearing on the physics set-up of the study, might also be needed.
Currently, there are no ‘leave out’ or ‘preserve’ features, but using an old simulation trick, you can achieve this by applying a small pressure to faces you want to preserve and that should protect them.
When the system achieves the goal you’ve set for it, you have the option to take the ‘optimised’ body and make it a formal part of the model tree. This takes your results data as a mesh and makes it available.
To be frank, only perverts and additive manufacturing vendors are going to pretend that anyone in real life would take results from a topology optimisation routine and manufacture their product straight off. But what this does give you is a good set of reference geometry, portions of which you might be able to use to progress further using the SpaceClaim tools that allow you mix-and-match mesh and proper geometry nicely.
The goal in the Explore stage is to carry out rapid design experimentation using all of the tools available to get you where you want to be. It’s here that the Discovery Live system stops, the intention being that users can take their results and progress them further through engineering, perhaps carrying out further simulation using different tools.
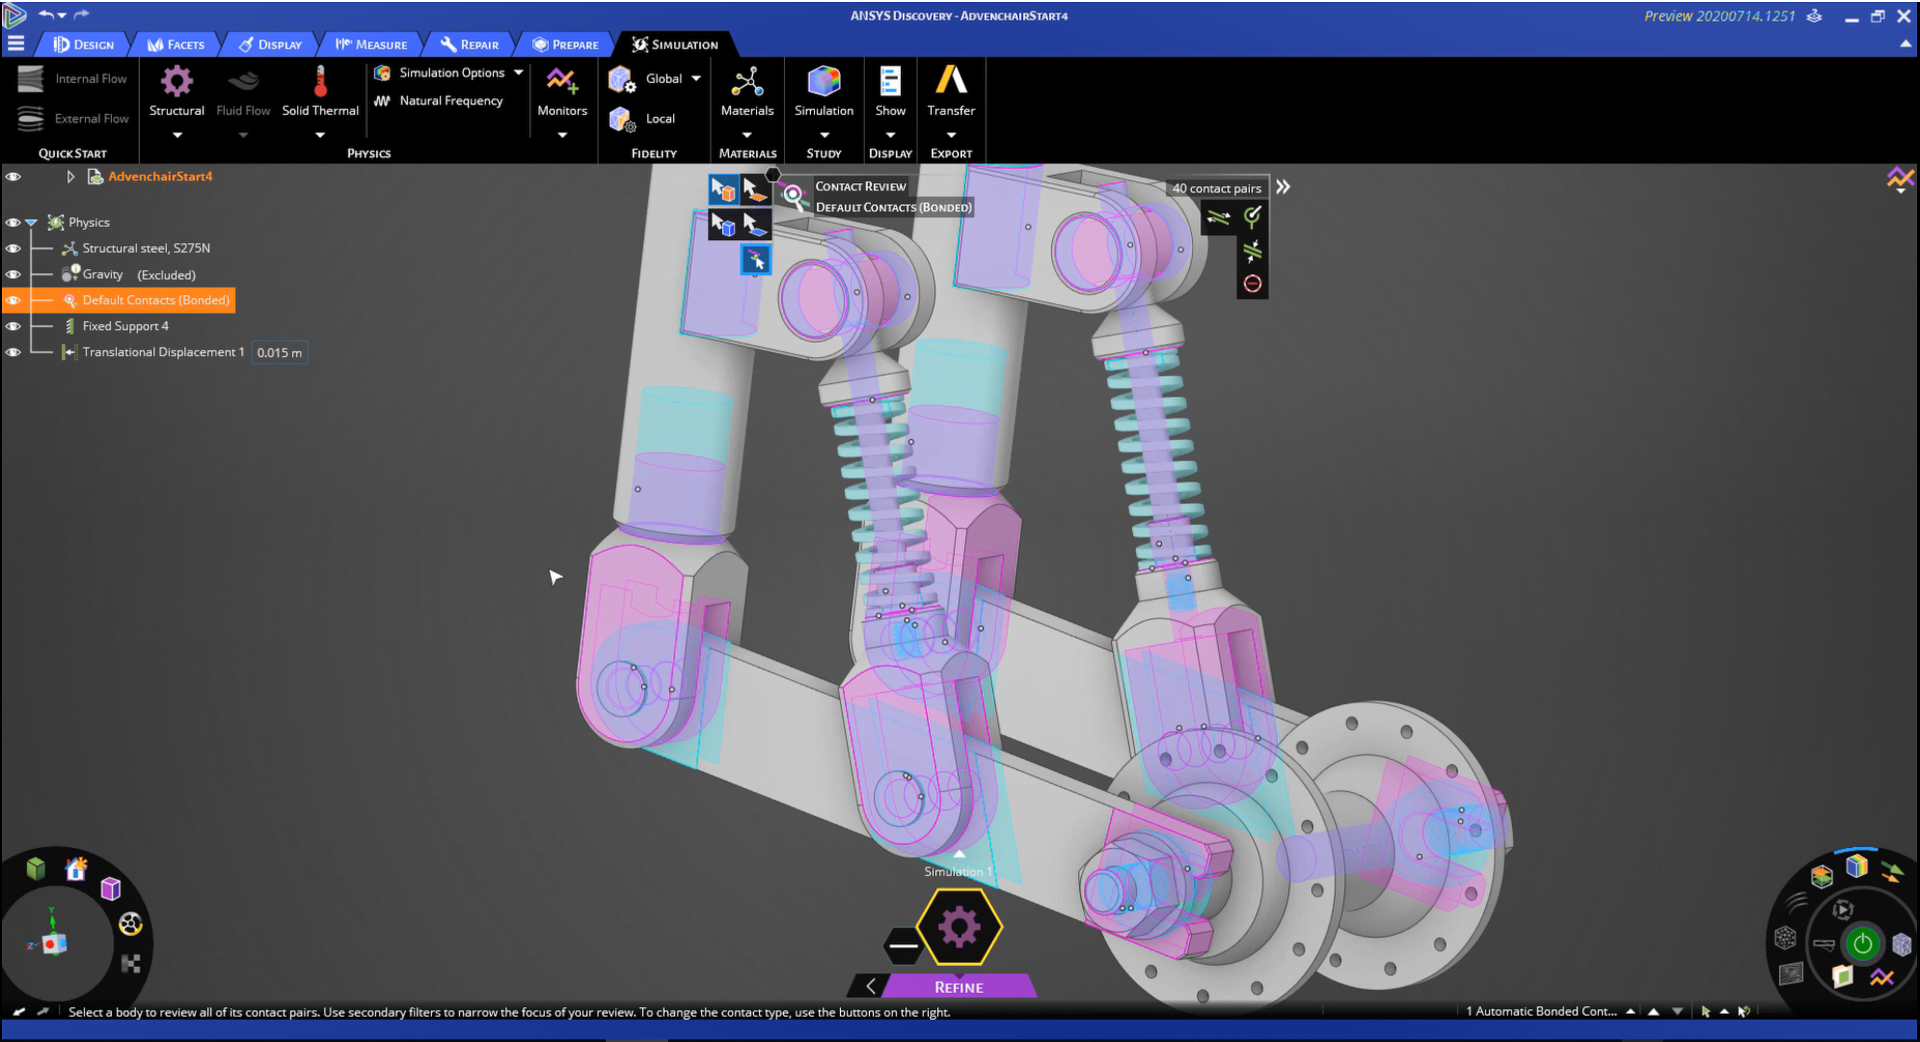
Refine mode – dial in details
If Explore is where Discovery Live ends, it’s also where the new Discovery system really starts to gather pace, building on and enhancing that workflow.
By switching from Explore into Refine mode, you take all of your study set-up and results and refine your model further, using a deeper set of simulation tools, built on Ansys’ world-leading solver technologies, Ansys Mechanical and Fluent.
The same set of physics models are available (structural fluid flow for both internal and external, as well as solid thermal), the natural frequency modal physics are available, and there’s a topology optimisation solver, too.
At this point, since you’re looking to push your simulation further, you’ll presumably want to dive into those areas where you intend to build an engineered solution to your problems, using the full weight of simulation.
In this environment, the results are not real-time, GPU-enabled. Rather, the resolution of results is akin to what you would expect from a long-standing solver technology – that is to say, robust and comprehensive.
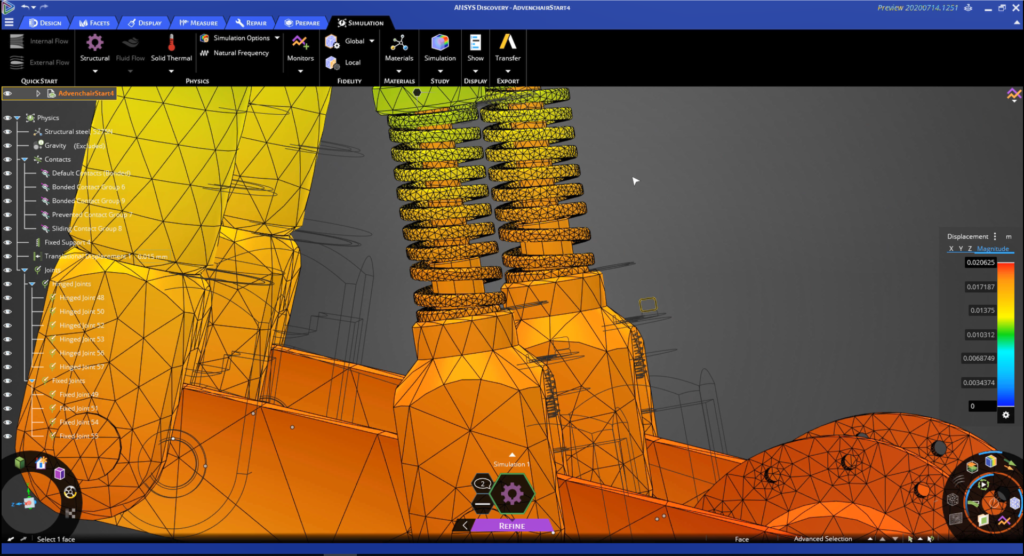
The Refine mode also adds in new capabilities that are unsupported in Explore mode. These include more tools for accurately representing an assembly, for bolt pre-tensioning and for mesh refinement. The post-processing tools, meanwhile, are also built on the same foundation, so knowledge you’ve built up in Explore mode transfers across quickly.
In other words, you’re using the same tools you used for experimentation, so in Resolve mode, you can dig in to additional options that yield higher fidelity results.
Of course, it might be the case that you want to explore even further still. Since you’ve already got the physics set up and have already conducted studies using the Ansys Mechanical or Fluent solvers, it makes sense to be able to wrap up that data and push it into standalone tools, too.
This is entirely possible. In fact, the system provides you with direct links into those systems that are the targets for data already set up.
In conclusion
Ansys Discovery is the logical next step for the company and for its new generation of tools. The breakthrough speed of computation and the interactivity that Discovery Live has brought to the market has the potential to transform workflows at any organisation that adopts it.
Why? The answer is that Discovery Live allows users to truly experiment with fundamental factors of geometry, material and conditions of use, in order to identify an optimal solution to an engineering problem.
After all, it’s no good having rapid modelling capabilities at your fingertips if you then find that your simulations take all day – and vice versa.
With Discovery Live, Ansys has managed to combine the best of rapid modelling technology from SpaceClaim with the GPU-enabled Discovery Live solvers, in order to build a system that allows you to dive in and quickly try out new ideas and concepts.
That’s extremely useful, certainly. But with the new Ansys Discovery, you don’t just get speedy simulation. What you also get is a far deeper understanding of the behaviour of a product – the kind of understanding typically associated with more traditional, tried-and-tested simulation tools.
In short, it’s the best of both worlds – and that’s quite a remarkable thing to behold.

