Today we’re slapping on the fake tan, vajazzling our bits and conforming to every stereotype going as we live blog from Essex.
More specifically, we’re at IPF Ltd, one of the UK’s best multi-purpose 3D printing bureau services.
Away from Essex’s more renown personalities (for any international readers, think along the lines of MTV’s Jersey Shore), this company has been 3D printing for the likes of F1 teams, movie props, engineering projects and action figures for over 44 years (7 years with 3D Printing).
It’s the latter skill that we’re calling on today as we’re about to print off the winner and runners-up of our Make A ‘Bot competition.
11.45sing an Stratasys Objet Connex printer – super high resolution, ???
Although we’ll be asking some more general questions about 3D printing and the like as we go – including IPF’s three monster Stratasys Connex 500s, a Stratasys Objet Eden, EnvisionTec Perfactory, and a Stratasys Fortus 400.
Our host today is Gary Miller – head technician and decent sort – who can be pestered on Twitter at @RPGary.
Any questions you want to ask today, simply pop them in the comments section below.
Taking advantage of the high-end equipment available, we’ll be using the Connex machines from Stratasys.
11.58
During a quick brew we’re downloading the STL files of our winning models. Pretty speedy from Thingiverse.
1.30
After some wifi issues (strong winds blowing the wifi bridge from its lodging outside), we’re back and busy. This might mean we’ve been to refuel down the pub for lunch.
Although the STL files are all looking lovely, when it comes to printing them, we’ll need to fix any errors that might crop up.
A quick check for the ‘usual suspects’ includes:
– Noise shells (specks of dust or abnormalities, that are usually separate from the object surface)
– Inverted normals (flipped surfaces the wrong way)
– Unjoined surfaces – show up in Magics – so they can be stretched together.
James Mason’s winning model has been done in Freeform, so according to Gary it should have little defects. For more standard CAD design software like SolidWorks or Rhino – they might all look ok, but when you output it the program/algorithm is different, so we’ll need to clean them up.
2.00
We’re in the midst of fixing up files now the wifi is back working.
– Carlos has some nice files with no real problems for his rolling spy cam.
– Mark Little’s needs a ‘little’ fixing – we hammer the fix wizard tool in Magics, telling you the full list of offences. Some specks and dots, and there’s a few minor problems with the feet.
Magics is truly magic – forming a full steady shell, sorting out the problems, splitting the model into parts.
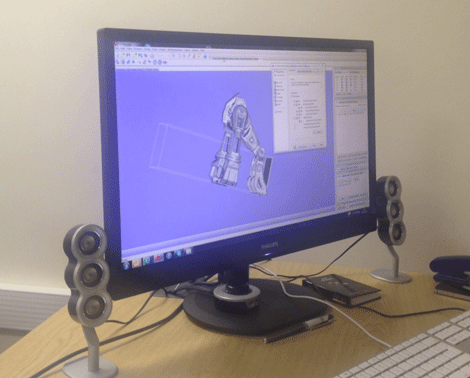
Do we want the Carlos’ robot monkey’s arms to move? We don’t know the tolerances, but let’s give it a whirl…
2.07
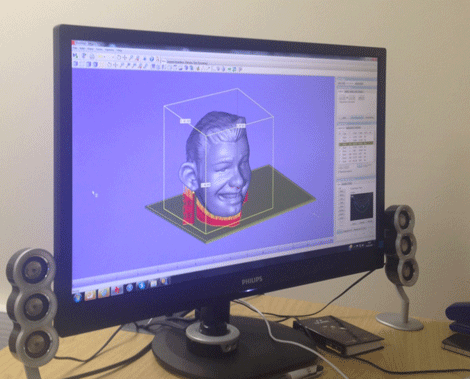
James Mason’s model has four files for the body, and the massive caricature of his head. For the best results we’re going to scale down the model so we can fit the head onto the Perfactory hi-res printer for best surface finish.
This takes a bit more prepping – best orientation, to ensure overhangs are easy enough to support the massive jug ears.
It’ll take 9 hours to complete (we’ll pick it up another day)
2.14
The body will be done on the Connex 500 – so we’re trying to figure out which materials will work best for it. Magics is showing us any problems we might have with wall build thickness – nothing serious to note.
2.20
The files are moved across to IPF’s server, finding them, placing them on a virtual printbed in the smallest area, finding the parts’ best orientation, and repeat to fit all the robots onto the same build.
This tells you how much material it will take (including support material), and the time it will take to print – 27 hours at 30 micron layers.
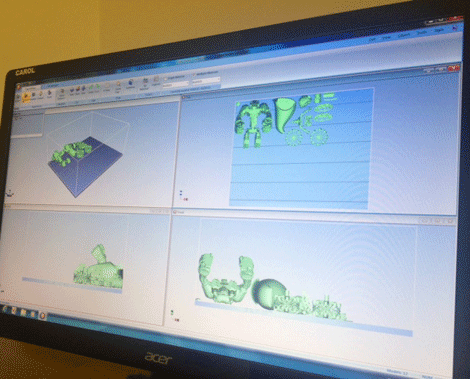
Some manual fiddling helps reduce support material and build time down to around 23 hours. If we’d used a material designed for lower performance (acrylic based) it could be as low as 14 hours in the same resolution.
All three models will be printed on the same build tray (at the same time), although the setup software allows this to be done seperately first, so in the case of a bureau, parts can be individually priced for different clients – you never know what your part might have beded down with…
2.30
The software also shows the number of printhead passes – sneaking all the parts under the ‘three-passes’ mark means a decent time saving.
We’re using the Objet ABS-like green material – it’s some solid stuff, which adds to the print time, but they’ll take some breaking if dropped.
Now we hit the ‘Build’ button, and it’s stored ready for the printers to get going.
3.20
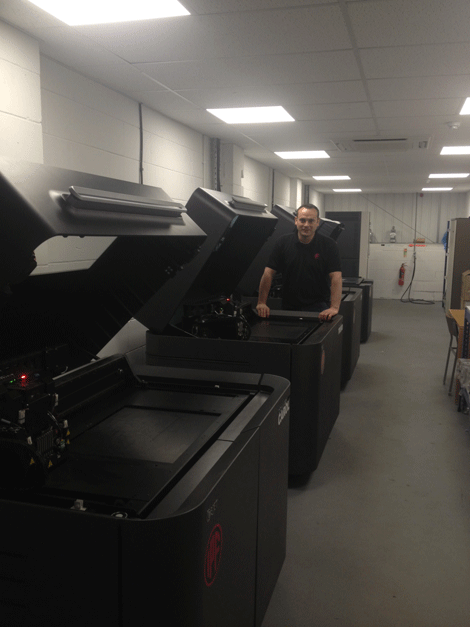
A brief tour of the workshop shows the size of these professional printers – desktop they aint.
We’ll have the results of our printing with us soon…


