

FabPro 1000 – Until now, 3D Systems had held back from bringing its mastery of stereolithography to the desktop. With the promise of lightning-fast build speeds and many materials, might its new FabPro 1000 pose a serious threat to competitors?
Stereolithography, or SLA, is one of the original 3D printing processes. Invented by Chuck Hull back in 1965, it enabled the company he co-founded, 3D Systems, to quickly become the largest player in the market during its early years.
The FabPro 1000 is much larger than you probably expect – and it’s definitely a two person job to retrieve it from its packaging
Through a combination of the technical excellence of its machines, a headstart on patents and a very active legal department, 3D Systems built its empire on its mastery of the magic of taking a liquid photoreactive polymer and building shapes out of it with lasers and light.
Then, around five years ago, many of the core patents associated with the formative days of 3D printing started to expire. That meant that intellectual property once belonging solely to 3D Systems, along with FDM [fused deposition modelling] masters Stratasys, became fair game for companies looking to offer lower-cost machines based on these technologies.
The entry-level FDM market soon exploded, with the entrance of rivals including Makerbot, Ultimaker and dozens more. (Even 3D Systems tried its hand at the desktop FDM market for a while, with its now defunct Cube product line.) But the SLA market took a little longer – because squirting out molten plastic is one thing, but using lasers to cure liquid into solid is a whole different ball game.
Among the many curious decisions that the top brass at 3D Systems made during this period, one that stands out in its oddness was that it didn’t introduce a general-purpose, desktop-focused SLA machine. It certainly had the know-how, the technology and the supply chain to do it, and to do it well. But the closest thing we saw to this was the jewellery-focused ProJet 1200.
Then along came Formlabs with a Kickstarter campaign that broke records and a machine that brought SLA to the masses. Since then, Formlabs has sold some 50,000 of its machines, defined a whole market segment and become its leader.
You can now find tens of different desktop SLA machines on the market – some excellent, some just OK, and more than a few that are absolutely shocking. But there’s nothing here from 3D Systems, the company that invented and mastered SLA.
That’s all changed with the company’s announcement of the FabPro 1000. It’s a desktop-sized machine, offering high build speeds in a variety of resins and coming in below that all-important $5,000 price bracket. When 3D Systems offered us the chance to spend a couple of months trying out this machine for ourselves, we naturally jumped at it.
FabPro 1000 – delivery and set-up
The packaging for FabPro 1000 will probably take you by surprise, particularly if you go for the add-on options of the UV curing oven and mixing unit (more on these later). While the machine turns up on a small pallet, you’ll very quickly discover it’s very heavy unit indeed compared to other desktop units, weighing in at 35kg-plus.
This is a clear-cut case for calling on Big Dave/Denise from Shipping to give you a hand with it.
That said, once it’s out, set-up is pretty straightforward, following some very nicely thought-out guides, provided initially as a printout in the box, then followed up with an online version.
Even at this point, it’s worth mentioning that the information that 3D Systems provides is not simply a case of, ‘Here’s a set-up guide, a user forum and we’ll let you get on with it.’ Instead, there’s some serious content here, bringing together not just information pertaining to the machine, its functions and the materials it uses, but also drawing on the company’s decades of experience in helping customers to work with resin-based 3D printing systems.
In terms of machine set-up, you need to get it unwrapped, situated on a stable surface and plugged in. There are a couple of components that need to be installed in the machine as well. All of this is nicely documented in the help files and an alphanumeric labelling system is applied to everything that comes in the box.
The set-up of the build platform is perhaps the trickiest part and here, you need to pay close attention to the instructions. First, you need to add in the glass build plate. This provides the rigid interface between the resin in the build tray and the light source beneath (the FabPro 1000 uses a DLP chip to project the UV light for each layer onto the base of the build platform).
On top of this, you add in the print tray. This is a plastic frame with a flexible, transparent base and it holds the resin – the flexible base providing the means of breaking surface tension during build.
The last thing at this stage is to add in the print platform. This is an aluminium affair and slots securely into place.
Once that’s done, it’s time to get the software installed and connected to the machine. (The software’s called 3D Sprint and is common across most of 3D Systems’ range.) Here, there are three options: WiFi (which is easiest); ethernet; and faithful old USB.
It’s worth noting that you need to register and activate both the machine and software (the latter in order to get full function from Sprint), but it’s a pretty painless process.
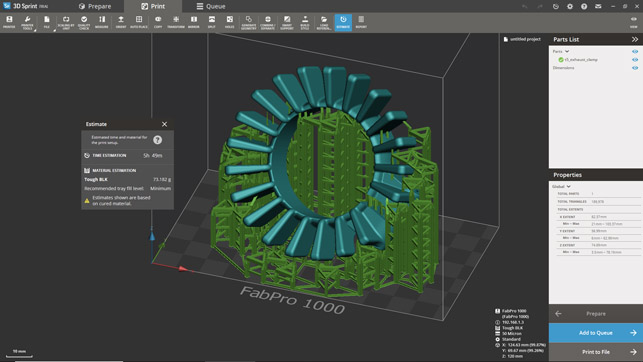
3D Systems 3D Sprint, perhaps the most impressive 3D printing software we’ve seen to date
One of our test parts on the build platform, ready for post-processing and break-out work
FabPro 1000 – First build
As ever, builds start with your part file in software and preparing that for the build process. Get your set-up wrong, and you’ll end up with wasted time and materials on your hands (not to mention potentially damaged equipment).
When you’re dealing with SLA, this is even more critical than usual. With the interaction of resin and light, plus moving build platforms, there’s huge potential for error. There are also questions to be asked upfront. Does the part’s orientation give you the part you need? Are key surfaces free from supports (which can mean extra steps to remove)? Are there enough supports to keep the part on your build platform? Are the cross-section properties of your part such that you can overcome the suction between your build tray and platform? All of these need to be considered.
The good news is that 3D Sprint is one of the best examples of this kind of software that we’ve come across. Not only does it connect directly to your machine and manage all of your queue handling, it also offers a veritable armoury of tools to ensure that the part that comes out of the machine is how you want it and optimised for your process and chosen material.
We’re not just talking about orienting a part at 45 degrees to a build tray and throwing on some supports. There’s way more to be explored in 3D Sprint, which includes tools for splitting parts and adding in jointing features, for introducing drain holes in thicker parts, and for nesting parts,so you get the most out of your build run (which will be key to users running the FabPro 1000 in a production environment).
Essentially, you import your part into the ‘Prepare’ environment, carry out any additional actions on it, such as fixing, splitting, orientation and such. Once that’s done, it’s transferred to the ‘Print’ environment. This is where you set up your build tray, generate supports and get things finalised. There are also some nice estimation tools (which are key for the final stages of set-up) along with reporting tools which spit out a set of details for each build.
When you’re ready to go, you’ll need to send the part to the queue and subsequently to the machine. Hitting start in the Print Manager transfers the job to the machine and it’ll await your input.
The FabPro 1000’s on-machine controls use a simple LCD display and a push switch. As you send a job, it’ll ask you to accept by pressing and holding the button. Once accepted, the system then asks you to scan the bar code found on the resin bottle.
At this point, it’s worth passing on a few notes about the resins. We’ve put together a quick guide below, but in general, these need to be mixed up before use. If you’ve got the basic configuration, it’s a case of you shaking the bottle yourself. If you’ve got the Mixer (a curious bit of kit that we don’t have room to explore more), the help system tells you for how long to mix the resins. Once shaken, you open the door on the front of the unit and the red target from the scan helps ensure you’re adding the right resin to
the build tray.
How much do you add? This is where the estimate tools provided in the software come into play. These will give you a fill level that corresponds to markers on the side of the resin tray, so that you’re not adding more resin that you need to. Once that’s done, you’re ready to shut the door and away the system goes.
If you’re not familiar with how these machines work, they’re pretty standard on the desktop, using DLP chips from projectors to bounce 405nm wavelength light to cure the resin in layers from beneath, building up the parts and supports on the build platform.
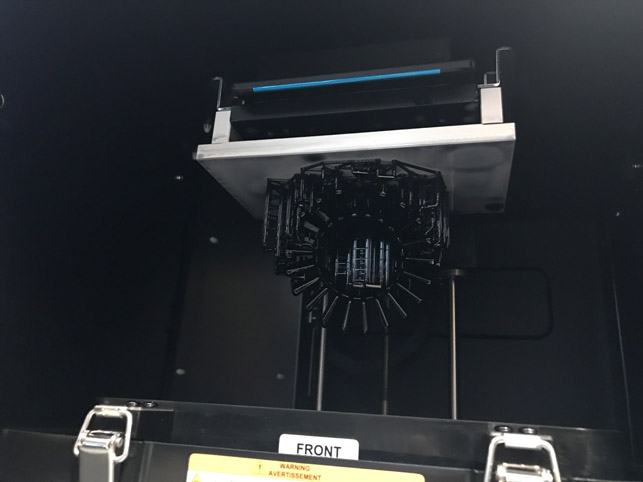
As such, when the part is complete, you’ll find your part suspended from the build platform at the top of the machine. The next step is to carefully remove the build plate and part(s) and move them to a working area for post-processing.
Using SLA machines is a messy business and this part of the process is particularly prone to getting out of hand quickly, so it’s worth noting that 3D Systems provide a pretty complete finishing kit as standard with the FabPro 1000.
This includes gloves, plastic rinse boxes, towels, cutters and other tools to help with the process. The only other things you’ll need to obtain initially are isopropyl alcohol (IPA) to help remove uncured resin and safety glasses. (I know from bitter experience that getting resin in your eye is not pleasant.)
While each resin has a different curing state out of the machine and comes with its own post processing guidance, the basics are the same. You essentially wash off excess resin in one tub of IPA for a few minutes, then move it to another tub of cleaner IPA for a final soak.
With that out of the way, you’re ready to do the final cure. Here, you have a number of options. You can either acquire a UV curing device (these are plentiful on the web, look for UV sterilising units from beauty salon supplies) or you can opt for 3D System’s own PrintBox.
This is a pretty industrial unit, which will cure your part in a matter of minutes. If you’re working at production scale and time is key, this is a good option to choose.
It’s important not to skimp on time in the UV curing process, as this will finalise the mechanical properties of the parts. It’s particularly important to bear in mind if you are working with some of the tough and elastomeric resins.
You can break off supports whenever you see fit – but my personal experience is that you will typically get a better result by curing with supports in place, particularly when it comes to thin-walled or complex forms, due to the extra support during the cure process.
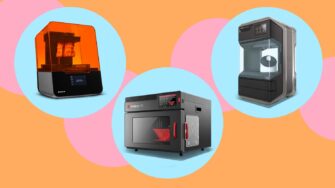 Enjoying this? Read our other Pro Desktop 3D Printer reviews here:
- Formlabs Form 3
- MakerBot Method X
- Raise3D E2
- 3D Systems FabPro 1000
- Ultimaker S5
- Stratasys F123 Series
- Rize Inc. Rize One
FabPro 1000 – the end result
Of course, the end result is what really makes or breaks a 3D printer and our expectations of this machine were naturally high. I’m glad to say that the results are excellent.
Surface finish is as impeccable as you would expect from a 50-micron layer build process.
Stepping that down to 30 microns for the castable resin results in an an even finer result.
All the resins we tried (grey, tough, castable and elastomeric) produced amazing parts. Yes, there’s some marring on the surface where supports come into contact with the part, but these are par for the course, and the software gives you enough capability to minimise them where possible.
Unfortunately, a tidy-up during the testing process meant the test parts inadvertently got binned before we got a chance to photograph them.
FabPro 1000 – running costs
The machine on its own, with two print platforms and a single print tray (plus 1 litre of grey resin and the finishing kit), costs £3,295. If you want to add on the material mixer and lightbox, that takes the price up to £4,790.
In terms of consumables, the immediate costs are the build components and resin. Resin varies in price, from the standard ProtoGry resin at £119 per litre, up to £219 per litre for JewelCast.
The build trays (which should last for around 40 hours’ build time, depending on the resin and use patterns) cost £45 each. Considering these build trays have a flexible film base and contain resin, I wouldn’t want to push them too close to their limits. The print platform (of which you get two as standard) are another £79, but considering these are made from solid Aluminium, they should last a while if used with care.
In conclusion
Ultimately, you need to look at what 3D Systems has on its hands with the FabPro 1000 in the context of the wider desktop SLA market. The facts are that this machine has to compete on several different levels.
First, it has to compete on price. At £3,295, it’s priced pretty competitively for a desktop SLA machine, particularly one that’s production oriented.
Even with extra cost for the curing oven and material mixer, it still comes in at under £5,000.
On top of that, it has to compete on both build volume and speed. On the volume side of things, the FabPro 1000 is average at best. Its build volume limits the size of components and parts you can prototype (or indeed, for which you can prepare masters). Of our usual range of tests parts, only two of them fitted on the machine, and one of those (the brake lever) was a struggle.
Where the machine does win is on speed. A part using the Tough material, for example, might take five hours – and less if you went for the grey prototyping resin instead. A Formlabs Form 2, running an analogous material at the same layer height (0.05mm), would take over 12 hours to build the same part.
The question any organisation looking at this machine needs to ask is whether it is a good fit for their day-to-day work. If you’re looking to produce small, intricate prototypes or masters for secondary processes, it’s an outstanding choice.
Parts build quickly and, with the Lightbox, they cure quickly too, so they’re ready to go. Yes, the build volume is small, but you can optimise your build plate and churn parts out very quickly and to an outstanding quality, with some excellent material options.
FabPro 1000 tech-specs
» FabPro 1000
» Stereolithography
» 125 x 70 x 120 mm build volume
» 430 x 430 x 612 mm machine dimensions
» 37.5 kg weight
» 0.05mm layers
» up to 21 mm/hr
» Finishing kit, build platform/plate, Proto Gry 1kg resin – optional resin mixer and UV curing oven
» Ethernet + Wifi + USB connectivity
» 1 year return to base warranty
Material options: Exploring the FabPro resins
FabPro Photo GRY
Layer thickness: 0.05mm
Build speed: 21mm/hour
Price: £119/ litre
Notes: For general-purpose prototypes, where you want something that will last a design review, but give you an excellent surface finish, this is would be my preferred option. It’s also the fastest general-purpose resin you can get for the machine.
FaBPro Tough BLK
Layer thickness: 0.05mm
Build speed: 14mm/hour
Price: £135/ litre
Notes: If you’re looking for a more resilient prototype that can boast a little more flex and a little more give, then the Tough BLK resin might be a good choice. It’s less brittle than the grey resin, but is a little more expensive.
FaBPro Elastic BLK
Layer thickness: 0.1mm
Build speed: 14mm/hour
Price: £155/ litre
Notes: The replication of elastomeric materials has always been a challenge for 3D printers. This is ideal. Whether it’s seals, grommits, gaskets, hoses or other flexible parts, this resins gets you what you need in a 95 Shore A hardness mimic.
FaBPro Jewelcast GRN
Layer thickness: 0.03mm
Build speed: 5.3mm/hour
Price: £219/ litre
Notes: Looking to build either masters for casting using a variety of methods (investment, RTV, silicone moulding etc)? This resin is ideal. It builds in smaller 30-micron layers (capturing more detail) with near zero ash content on burn-out.
Dental Resins
Layer thickness: 0.05 to 0.1mm
Build speed: 9 to 23.5mm/hour
Price: On application
Notes: Alongside generalpurpose/casting resins, 3D Systems also offers a range of dental-specific resins for orthodontic models as well as surgical guides, orthodontic splints and such, with different biocompatibility ratings.
Desktop SLA machines: Five alternatives
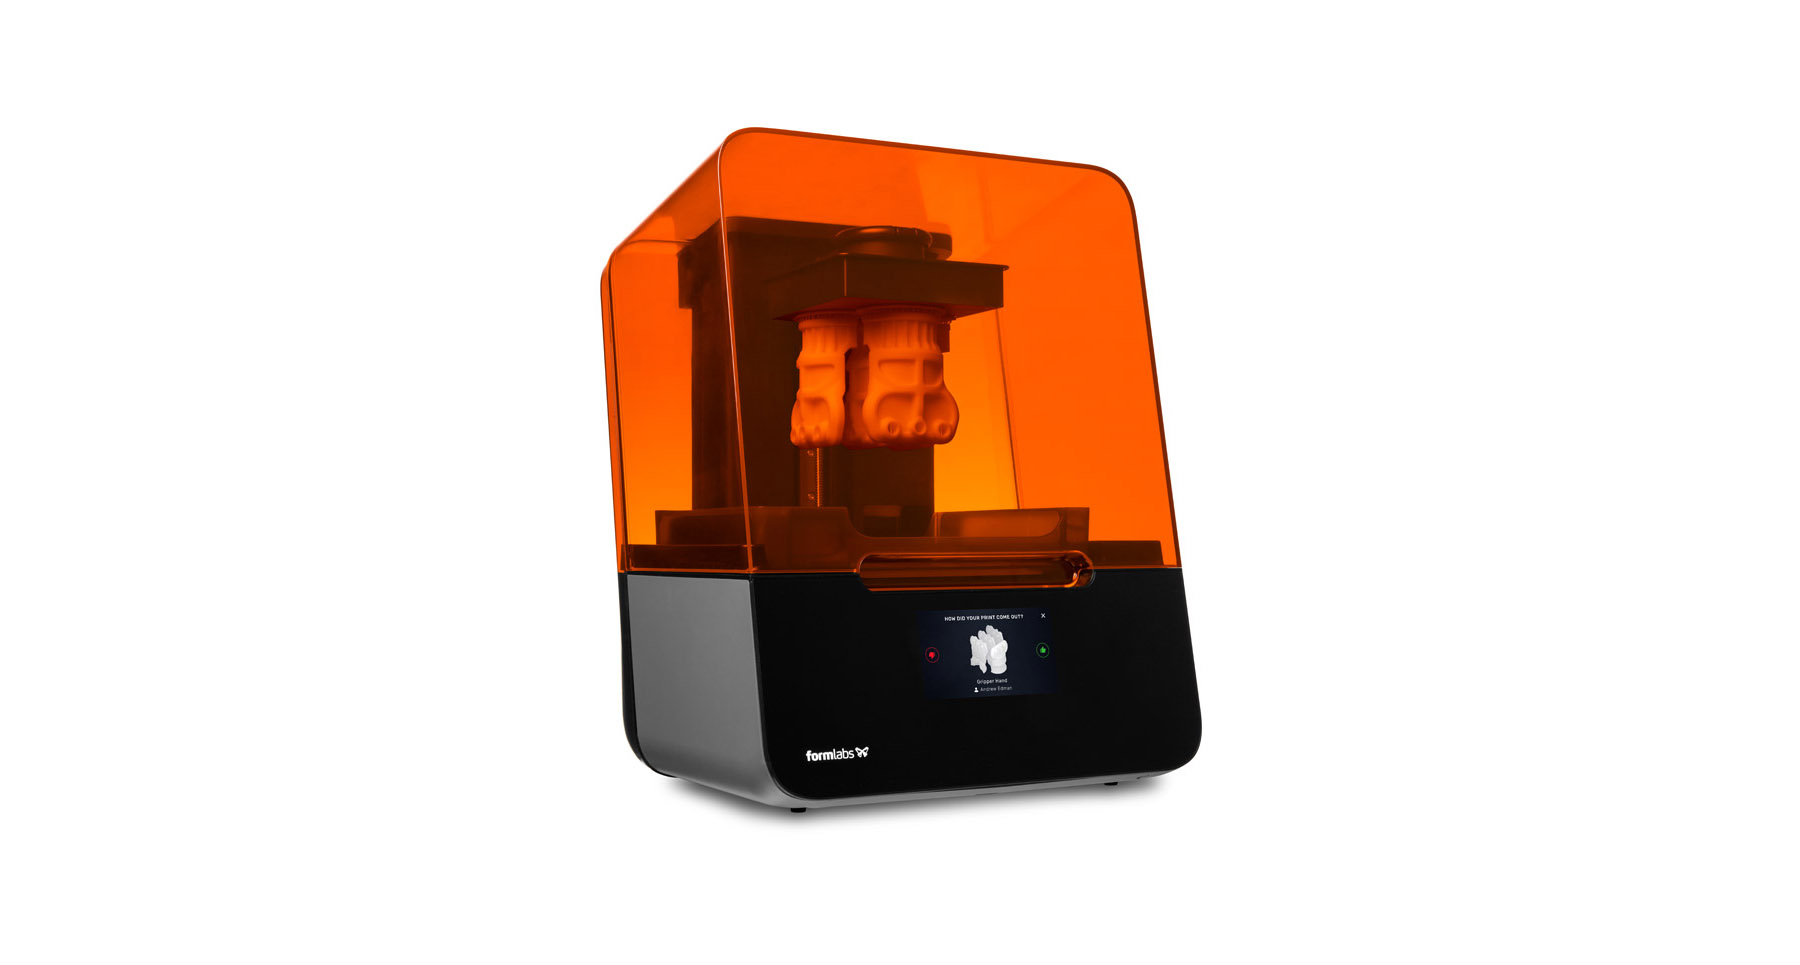
Formlabs Form 3
Product: Form 3
Supplier: Formlabs
Build Size: 145 x 145 x 185mm
Price From: £5,130
Web: formlabs.com
Notes: 3D Systems might have invented the stereolithography process, but Formlabs brought it to the desktop at significant scale. The Form 3 represents the third generation of the company’s products and many are getting excited to see what these new machines can do. The Form 3l for really big parts is on its way, too.
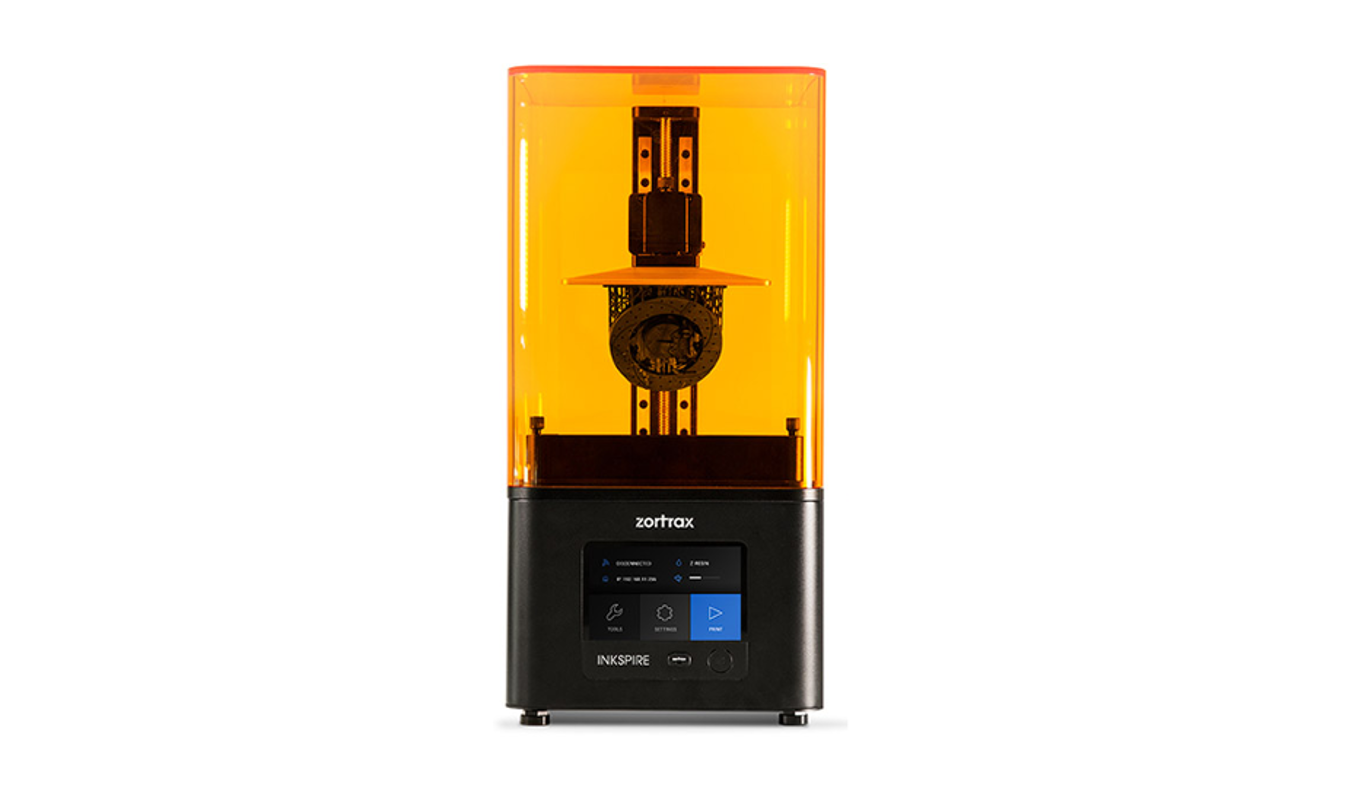
Zortrax Inkspire
Product: Inkspire
Supplier: Zortrax
Build Size: 74 x 132 x 175 mm
Price From: £1,726
Web: zortrax.com
Notes: Zortrax has built its reputation on lower-cost FDM machines, but recently jumped into the SLA market with its Inkspire machine. Working in the now familiar inverted manner using a DLP chip to project UV light onto a resin build tray, this one comes in at a pretty low price point for a small build chamber.
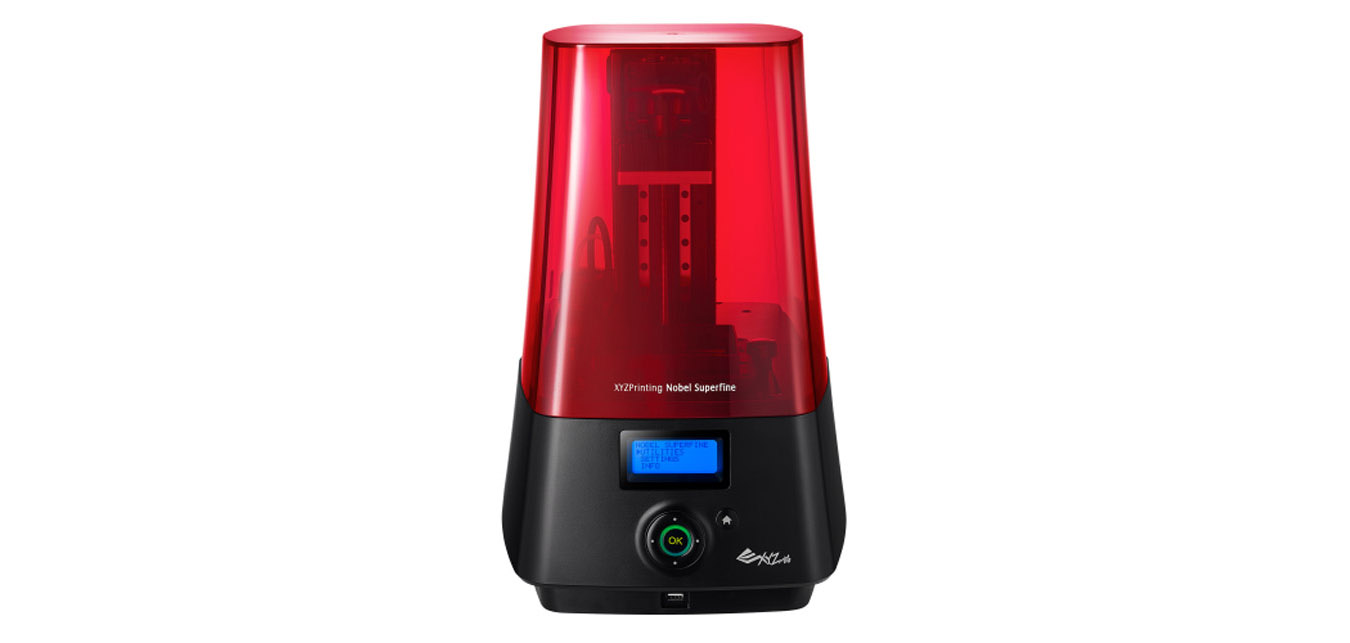
XYZ Nobel Superfine
Product: Nobel Superfine
Supplier: XYZ Printing
Build Size: 64 x 40 x 120 mm
Price From: £2,180
Web: xyzprinting.com
Notes: Chinese outfit, XYZ Printing has been making wave with its industrial machines alongside its desktop efforts. The Nobel Superfine is a variant of its DLP-based SLA machine that allows very fine features to be built, down to the 25 micron level, making it ideal for jewellery and perhaps medical device prototyping.
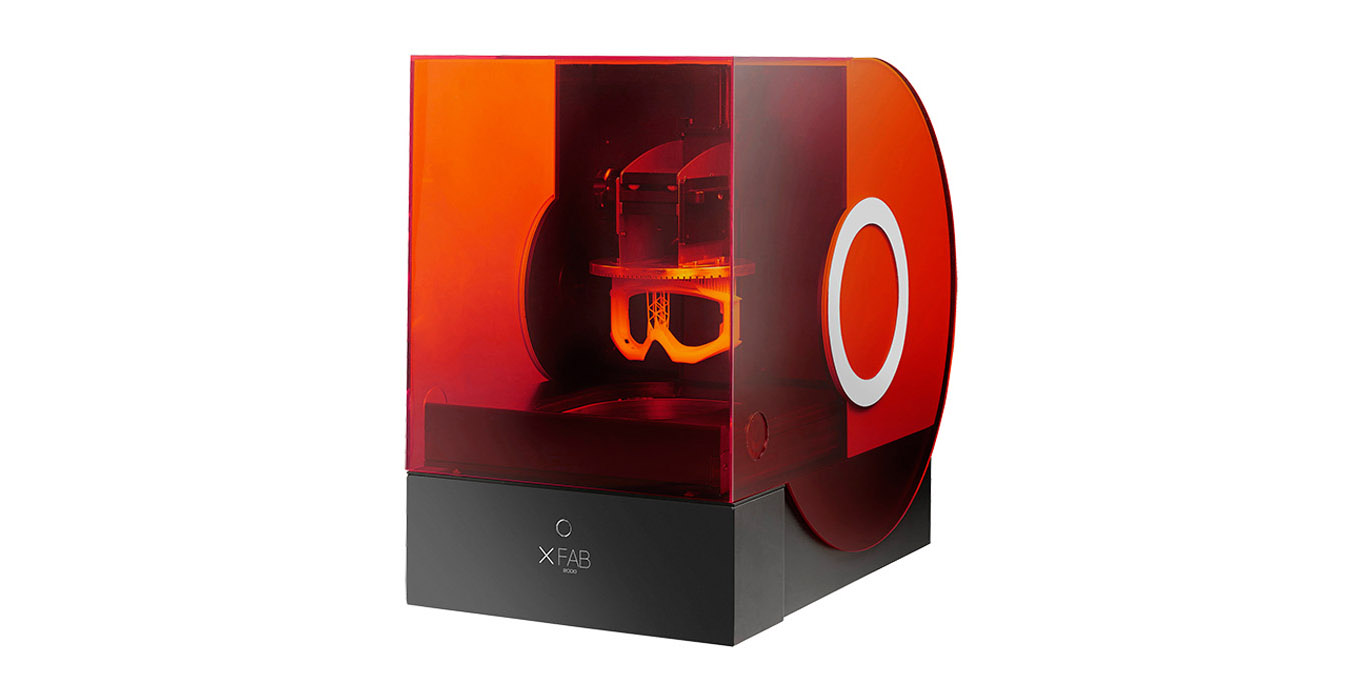
DWS XFAB2000
Product: XFAB 2000
Supplier: DWS
Build Size: Ø 180 x 180 mm
Price From: £ 6,499
Web: dwssystems.com
Notes: Italian outfit, DWS (Digital Wax Systems) has been building 3D printers for decades. Its XFAB machines run with a cylindrical build volume and come in a variety of sizes and can build in layers from 100 microns down to just 10 (which is practically invisible). There is also a nice range of homegrown resins available.
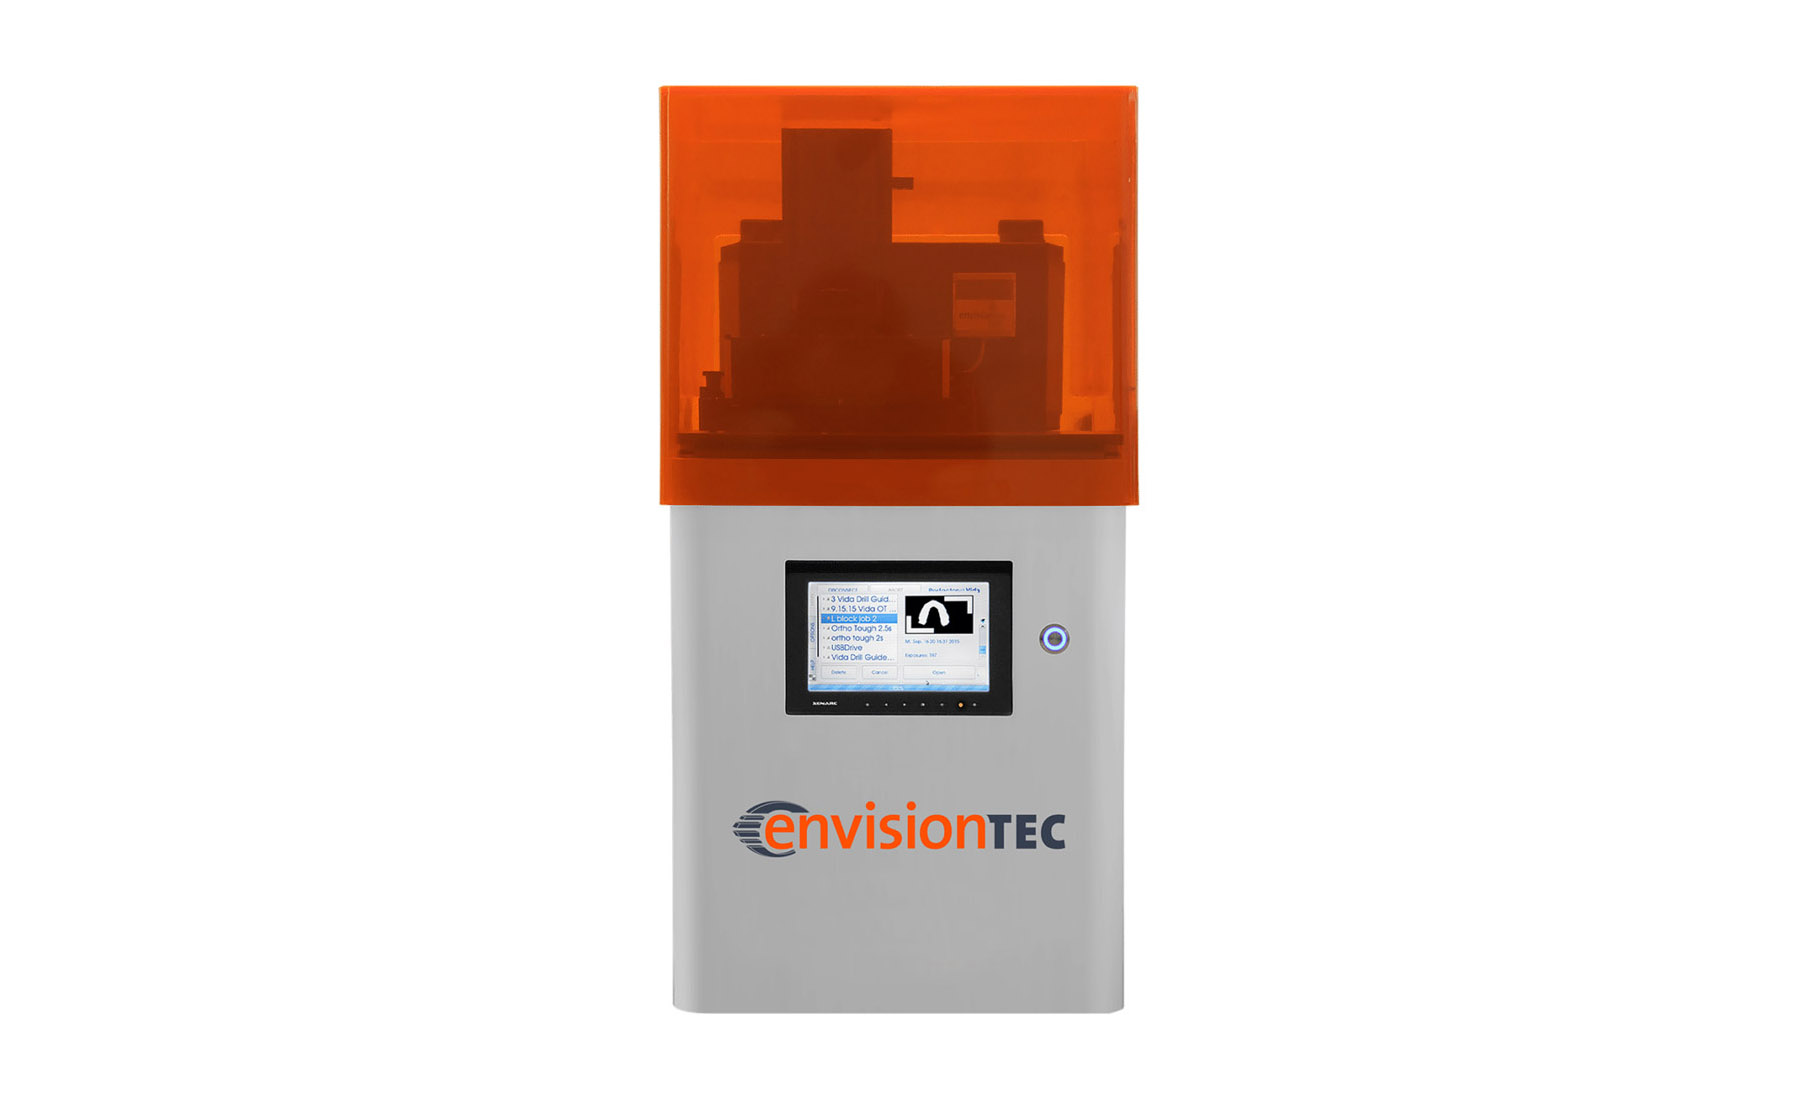
Envisiontec Vida
Product: Vida
Supplier: Envisiontec
Build Size: 140 x 79 x 100 mm
Price From: Unavailable
Web: envisiontec.com
Notes: Envisiontec built its business from servicing SLA machines then moved into building its own. The Vida is its desktop model, building down to 25 micron layers with a variety of resins, from prototype materials to industrial specific for dental, audiology and much more. There’s also a high-res version for more pixels per layer.


