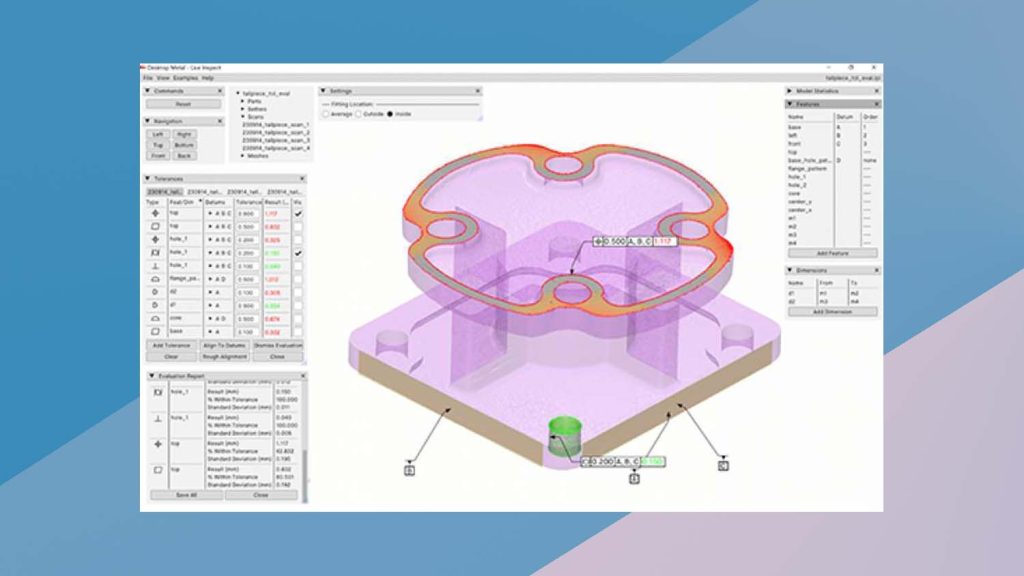
Desktop Metal’s Live Suite package of software for its family of 3D printing solutions has seen an upgrade with the addition of Live Inspect, a tool to analyse features on a 3D scan of a printed part.
The software can provide Geometric Dimensioning and Tolerancing (GD&T) style tolerance analysis from the 3D scan data, and then automatically scan-adjust the 3D printed ‘green’ part at the feature level. This should improve part accuracy, reduce scrap and build confidence in using 3D printed end-use parts with confidence.
With many additive manufacturing users adopting 3D scanners to identify deviations in 3D printed parts, the basic heat map output alone fails to provide tolerance analysis according to standard GD&T norms and practices, explains Andy Roberts, a technical fellow at Desktop Metal and previously its VP of software.
Traditional digital scanners typically provide a basic heat map output. While useful for identifying areas where a part may not be within tolerance, these maps lack further information for a precise quality assessment or corrective actions. Live Inspect users overcome these limitations by offering detailed GD&T-style tolerance analysis for individual features such as holes, slots, and planes. This ensures that each feature on a part meets the necessary tolerances for functional performance.
Live Inspect can correct for any type of print process defect across Desktop Metal systems and other 3D printing platforms. The company says that Live Inspect is not simply a solution for powder metal shrinkage and distortion due to density variations, gravity, and friction during sintering, but can also aid in the manufacturing of polymer parts that experience warping due to curing and thermal effects or sandcasting cores swelling due to microwave curing.
By addressing the need for precise tolerance analysis and automatic geometric corrections, Desktop Metal says that Live Inspect sets a new standard for quality control.


