A look at the new 3D scanning offering from start-up Peel 3D, which promises super easy scan to 3D CAD capabilities
The 3D scanning market has changed fundamentally in recent years – a topic we’ve discussed here several times in recent months.
To summarise: high-end, advanced scanning systems are now targeted more at the metrology world, where consistency and accurate results are paramount, while the low end market has seen a huge influx of new entrants providing solutions where good-enough resolutions and accuracy will suffice and/or budgets are limited.
This, of course, leaves the mid-range market, where there’s a real need for flexible solutions that fit into already established workflows – as opposed to devices dictating workflows, which often happens with scanning for metrology.
This is the market at which a new start-up, Peel 3D, is aiming its products.
They’re all handheld, white light-based systems – not a new technology, and one that has been superseded by others in times of speed of capture and resolution, but one that still brings huge benefits.
The particular product bundle we’re looking at in this review brings together the Peel 2 CAD handheld scanner and an upgraded set of software to handle scan capture and post-processing, as well as geometry fitting and surface wrapping.
Peel3D System set-up
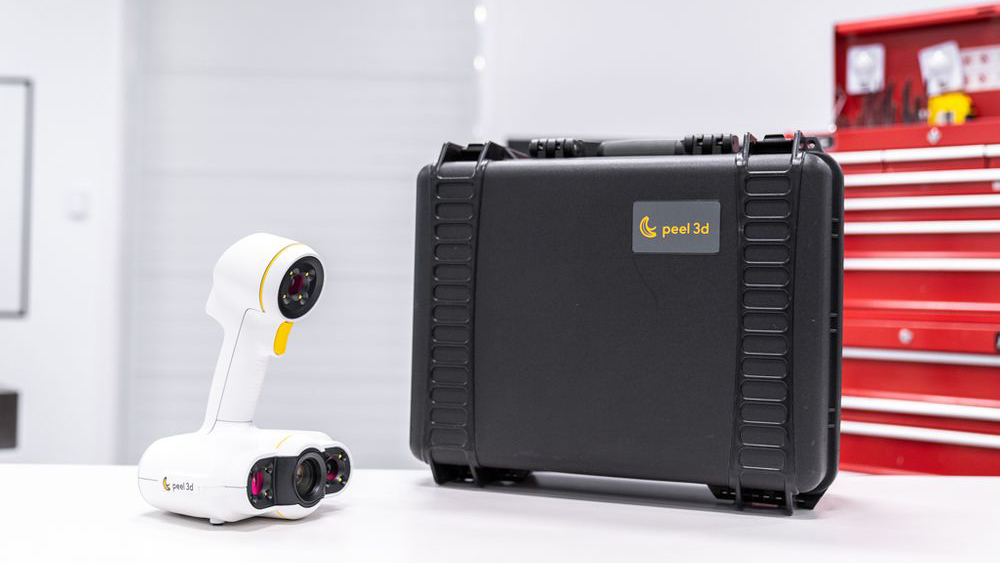
Getting the Peel 2 CAD scanner working is a delightfully simple process.
It’s a question of plugging in the supplied USB drive and hardware dongle (useful if you want to use a variety of machines, such as a tower and a mobile workstation), setting up the software, and then plugging in the scanner.
It is a USB-connected device (USB 2.0). The only other requirement is a power supply that connects towards the end of the device cable.
If you’re using this device on the go, it’s worth bearing this in mind, as you’ll need wired power available.
The final step is to connect the chunky old USB and power cable to the device.
Considering this is a stress point, it’s surprising how many 3D scanners rely on a shonky, grommet-secured connection and non-replaceable cable.
So it’s good to see that the team at Peel 3D has thought this through properly.
Instead, there’s a nice robust snap-connector here. Once that’s done, you’re ready to calibrate your device and get scanning.
Calibration is a step that needs to be carried out when you first use the device, and then repeated at regular intervals.
You could do it every time you scan, or you could skip a few scans, if you’re not that bothered about tolerances creeping a little.
The device is supplied with a calibration plate, which you’ll find tucked away under the foam padding in the device’s pelicase.
Before that point, however, you’ll need to get the software fired up.
Peel 3D software
Our review focuses on the most advanced version of Peel 3D’s products, which builds on the latest hardware with some fancy new software that not only handles the scanning process, registration of separate scans and post-processing to mesh files, but also introduces geometry-fitting tools that let you define proper CAD geometry alongside your point clouds and mesh data.
It’s perhaps best to start your experimentations with the system using the guided workflow mode.
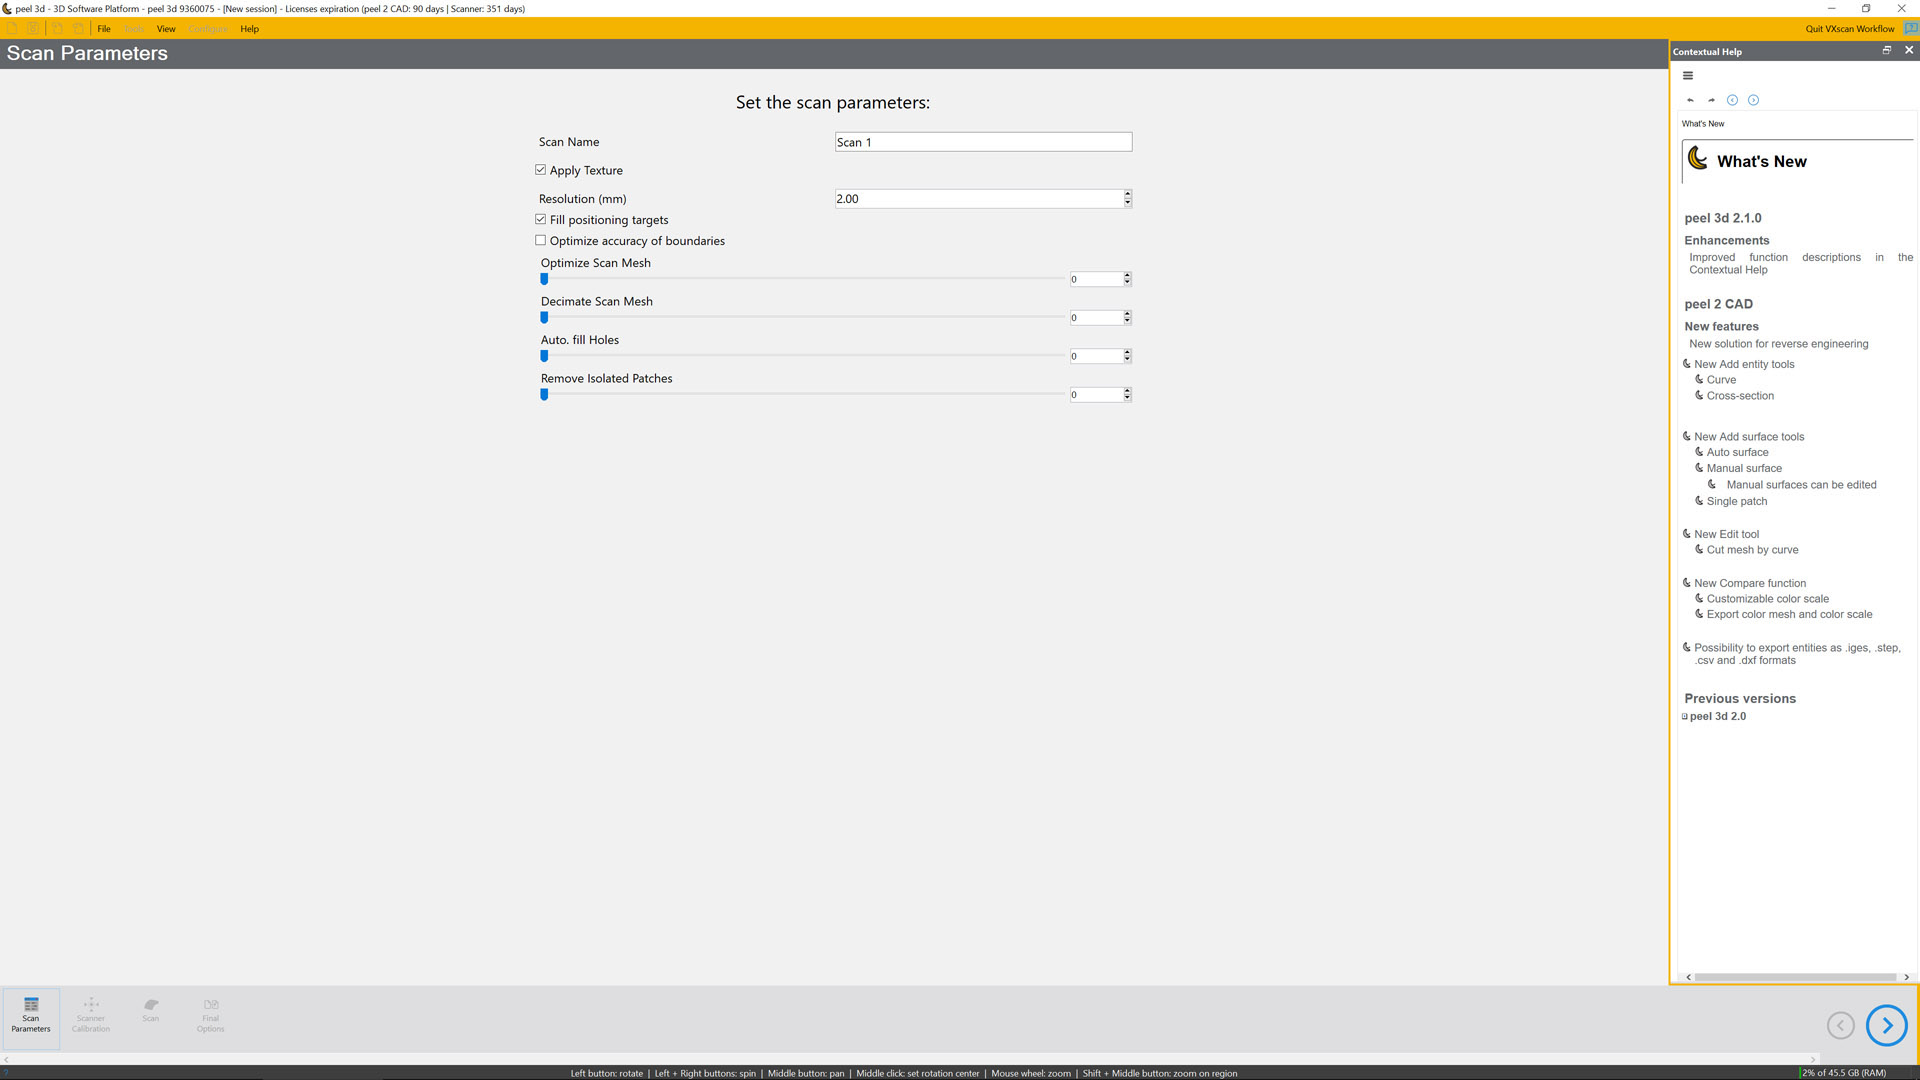
The first step is to create a new scan and define the parameters for your scan job. The Peel 2 CAD hardware is capable of 0.5mm resolution scans (at a tolerance of 0.300 mm/m).
Resolution of your scan is set at this stage, requiring you choose a value between 2mm and 0.5mm. Why might this be useful? There are a number of possible reasons.
You may need to scan larger areas and have concerns about memory filling up. You might only need a coarse scan.
You may want to start with a coarse scan of a larger object, and then add in higher resolution details later on.
The good news is that this can be adjusted to suit your needs.
At this stage, there are a number of other options to consider, too, such as whether you want scan targets removed and filled (more on this later) and/or have the software maintain boundaries more accurately.
You’ll then see four slides that control how four different processes are applied to your scan as it happens.
The scan mesh can be optimised or decimated, holes can be automatically filled and isolated patches can be removed.
These steps can all have a pretty big impact on the accuracy of your scan compared to the physical item, but the final one should be useful for anyone.
Once you’ve turned the dial on each of these options, you click the arrow at the bottom right of the screen to move on to the next stage.
Scanner calibration is next. This is a simple process of taking out the calibration plate and scanning various points on it.
Peel 3D recommends this is done every time you use the scanner, although you may wish to skip it sometimes.
If that’s the case, one thing you may wish to look out for is dramatic changes in temperature (when moving from the workshop to the office, for example), which can have a significant impact on calibration.
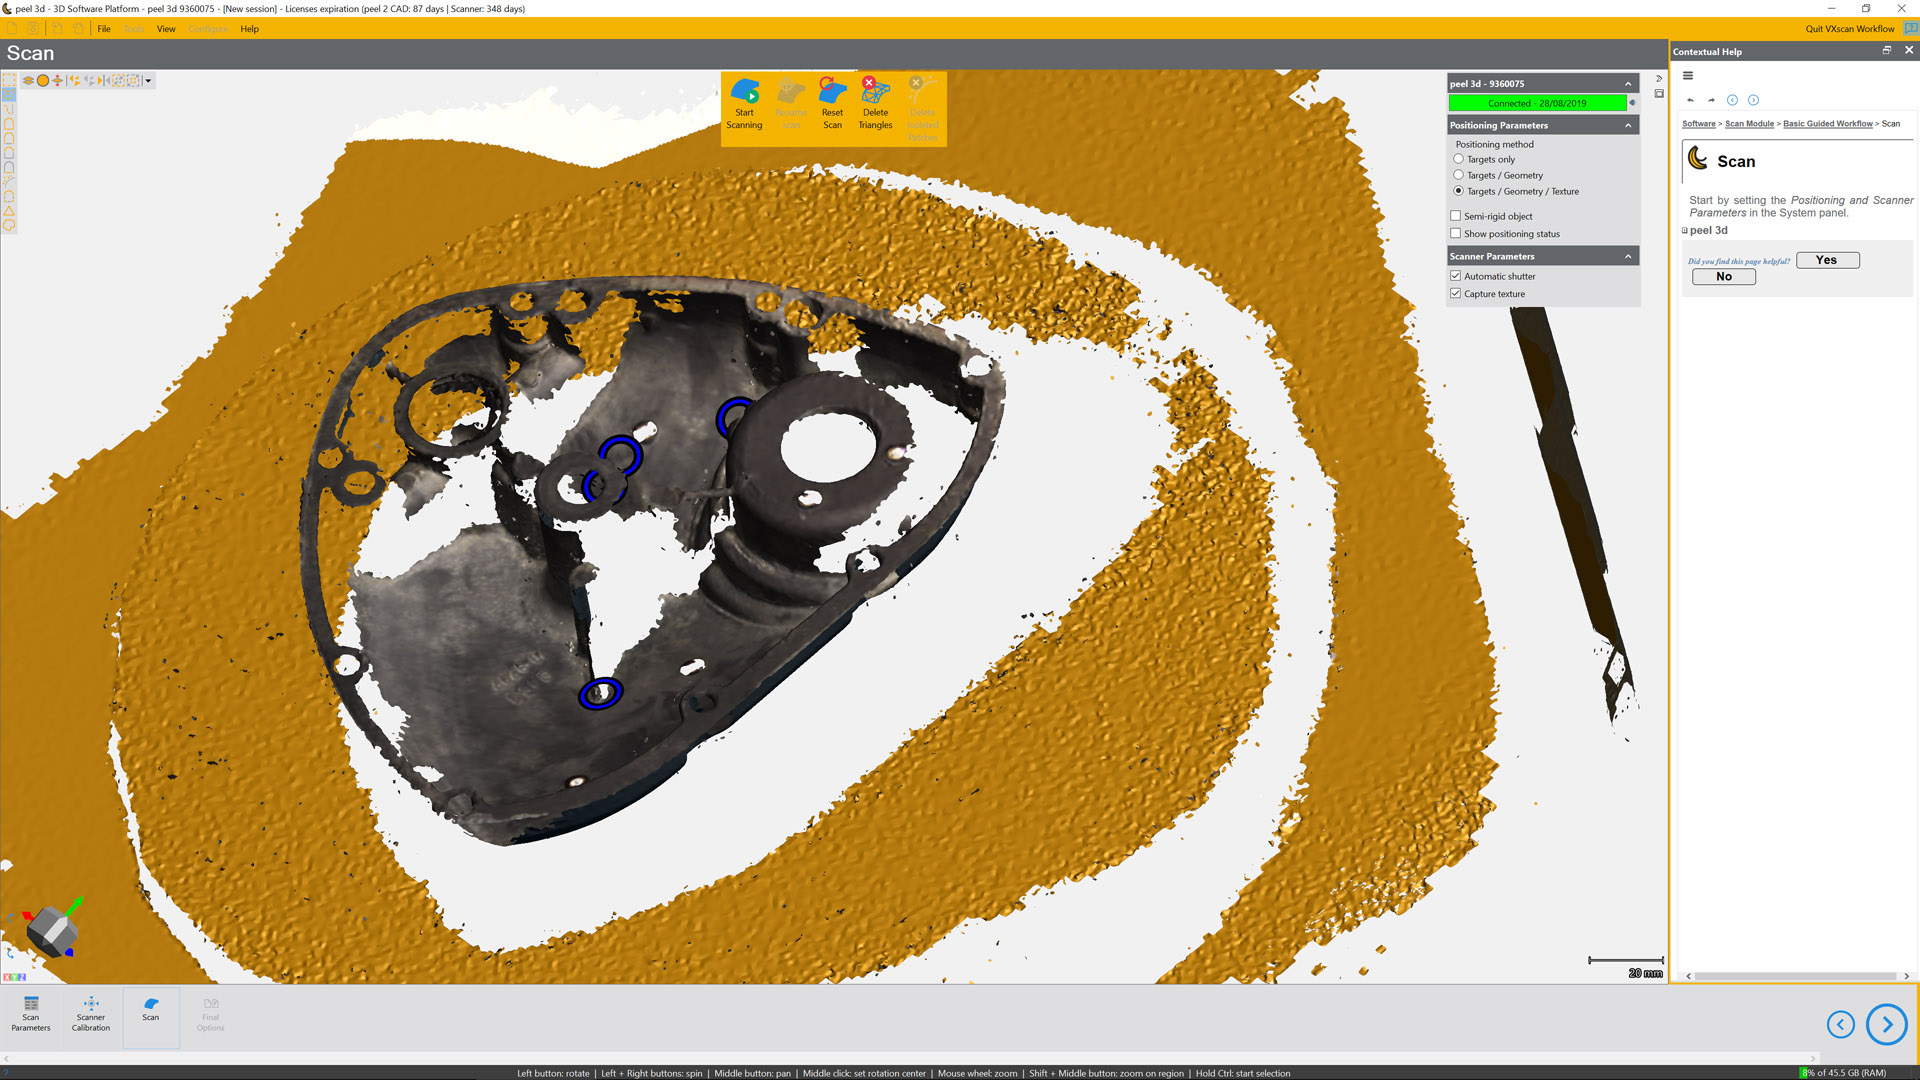
Scanning process
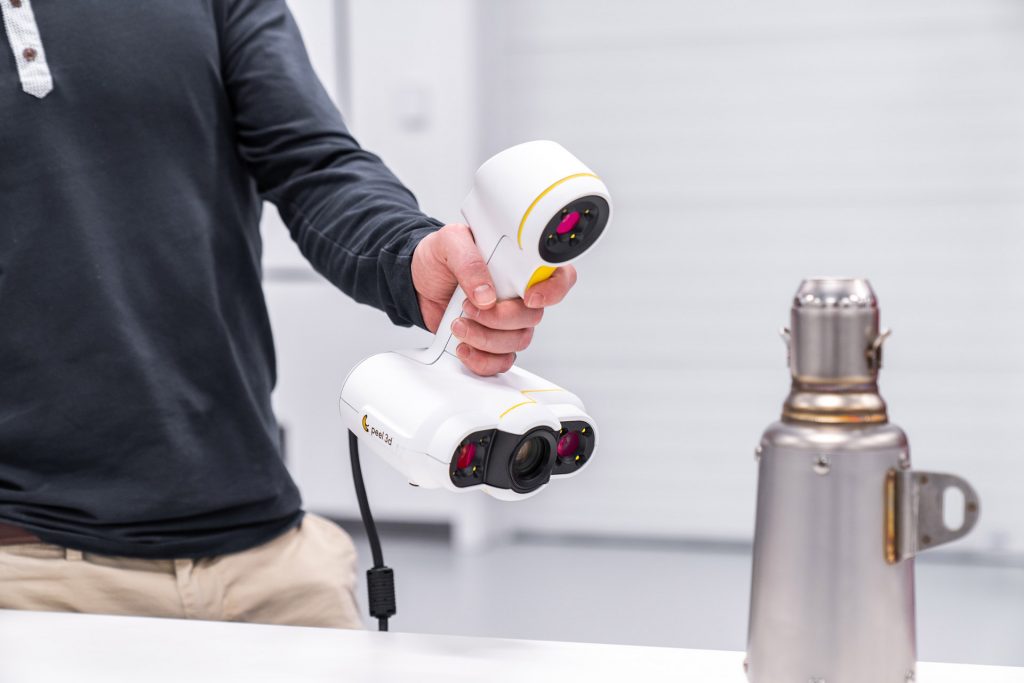
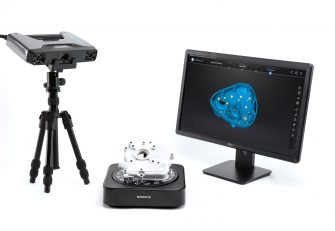
All of Peel 3D’s products are white light scanners.
This means that the system projects a known pattern onto your object using visible white light, and then two cameras use real-time feedback to derive the position of each pixel in that pattern in 3D space.
As you pass your scanner over an object, you’ll see the data start to appear on screen along with guidance on tracking and your distance from your object (the optimum distance being around 400mm).
When it comes to tracking, there are three factors that the system can use to track the scanner and the object: targets, geometry and texture.
Targets will be familiar to many; they are small, reflective dots, attached to the object you want to scan, or the area around the object, which allow the system to track movement.
Geometry and texture are a little different, in that the software uses features in both in order to track position as you move the scanner across the surface of your object.
The process you choose will depend very much on the object that you’re scanning, so it’s worth a little discussion of the issues involved here.
Structured white-light scanners tend to have issues with very dark, matt objects (as they absorb the light), as well as with highly reflective objects.
If you’ve got a more sculptural object, or one with a lot of texture, you should be OK.
As an example, check out one of our test pieces, the gargoyle; it’s got plenty of both texture and geometry.
It’s also quite matt and not too dark in nature, making it almost ideal to scan.
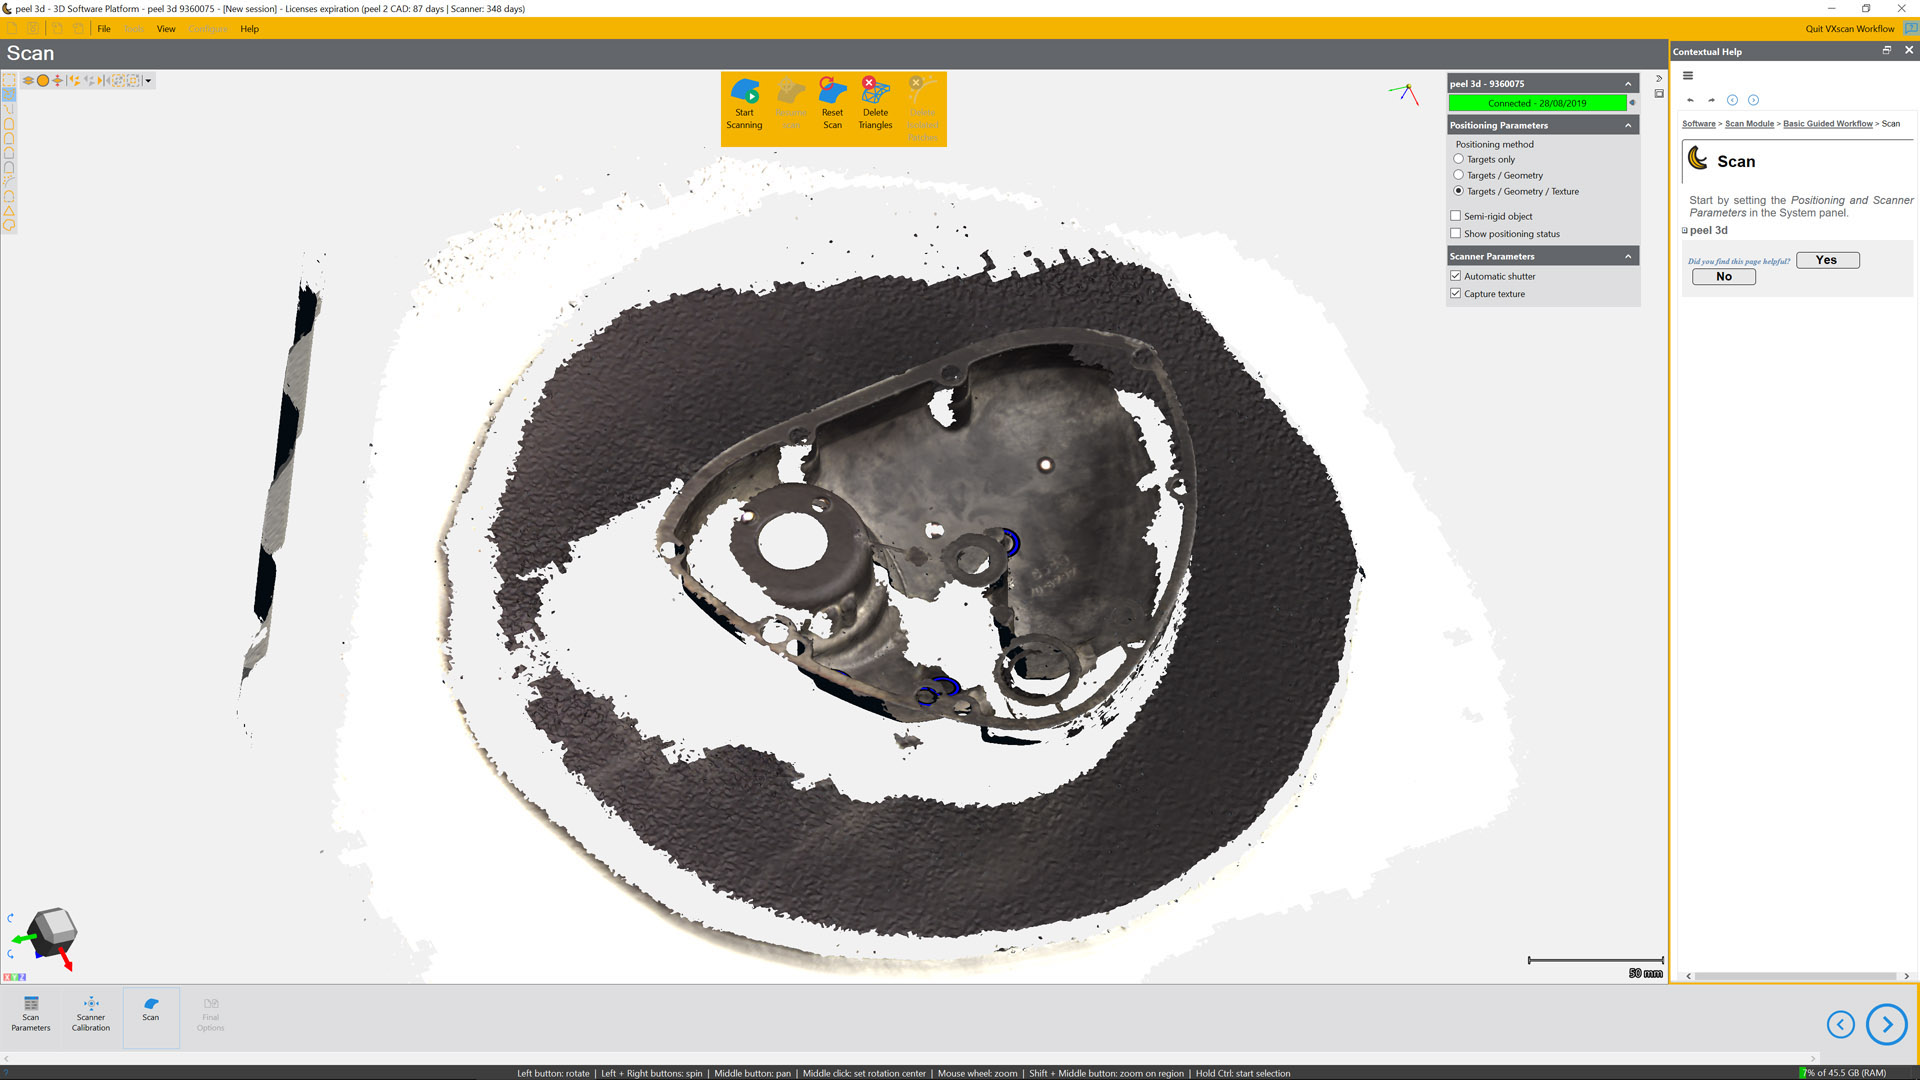
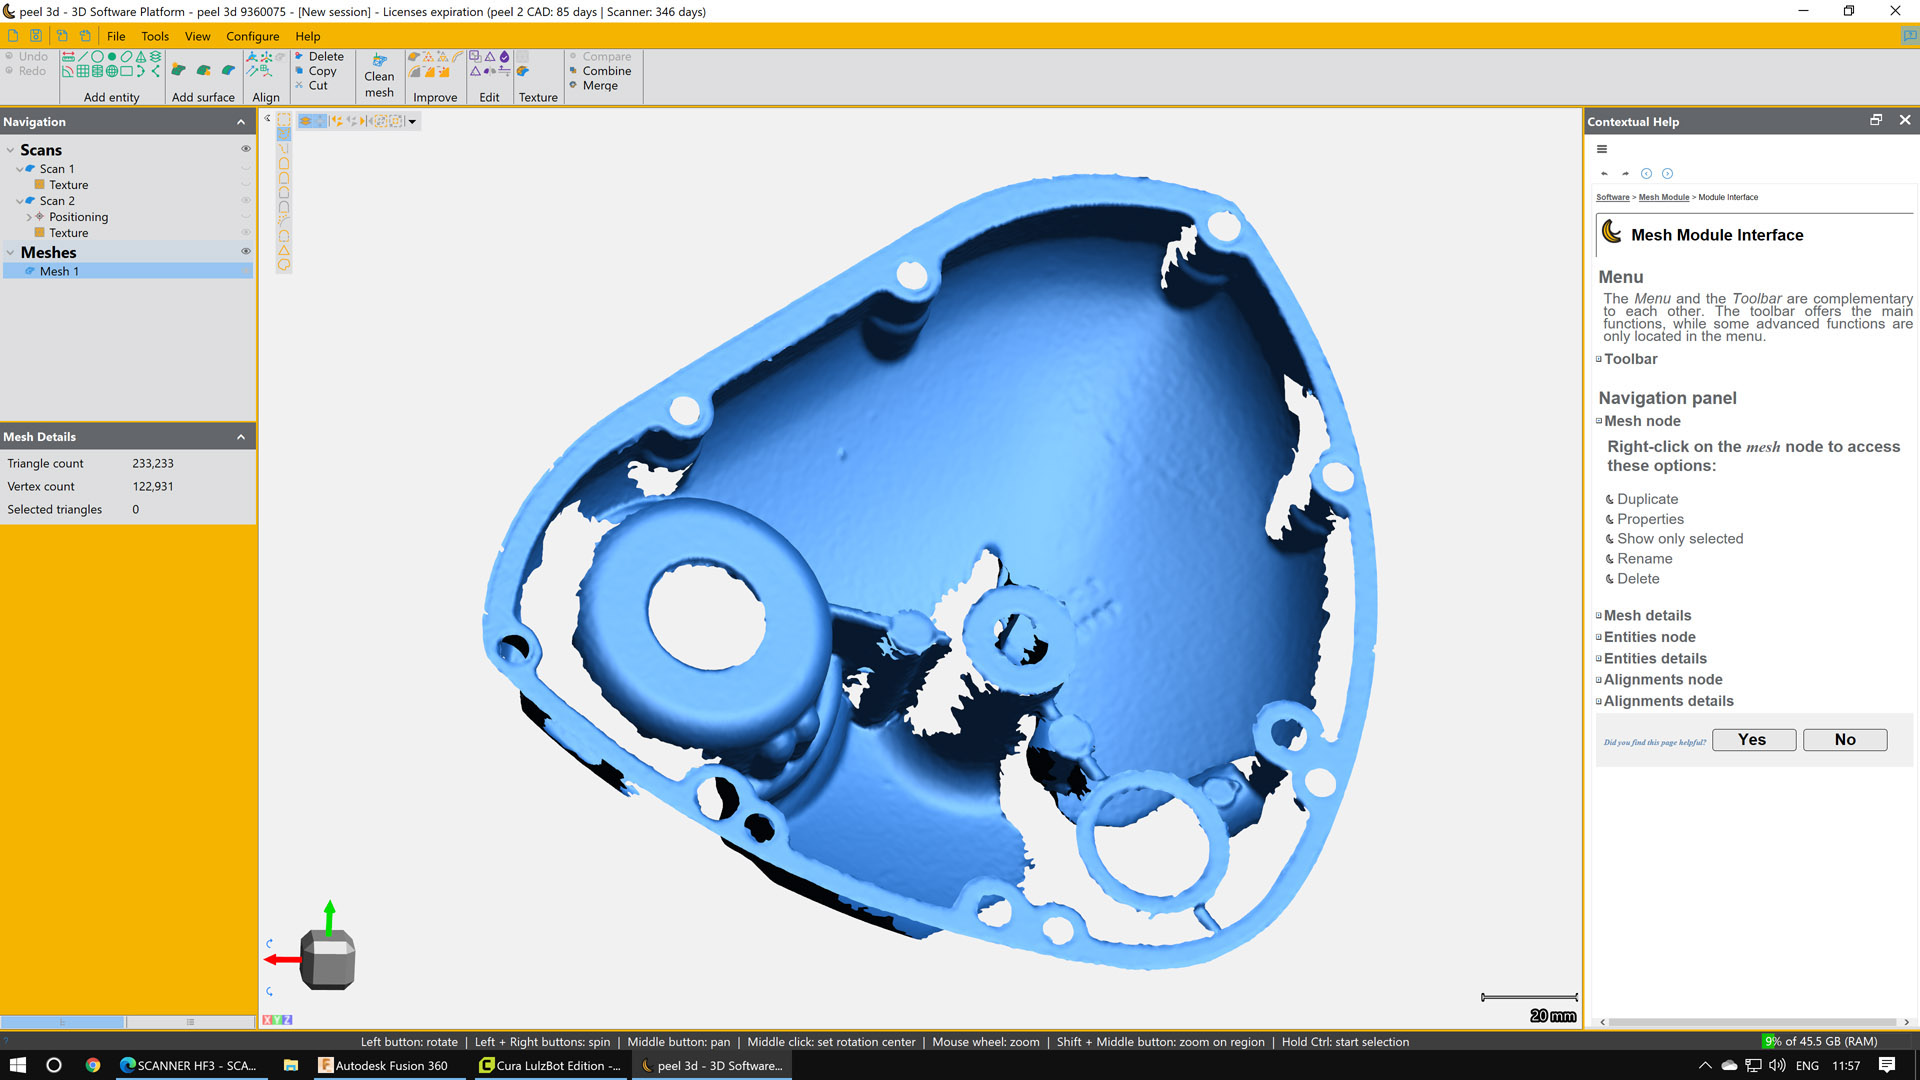
On the other hand, we also test using a timing cover component. This has a matt finish of cast aluminium inside and a lot of intricate detail, which is OK for scanning, but difficult in terms of accessibility.
The exterior, by contrast, is a complete nightmare for this type of scanner.
In these situations, it’s common to turn to different methods to reduce reflectivity, from talcum powder to primer to fault-finding spray.
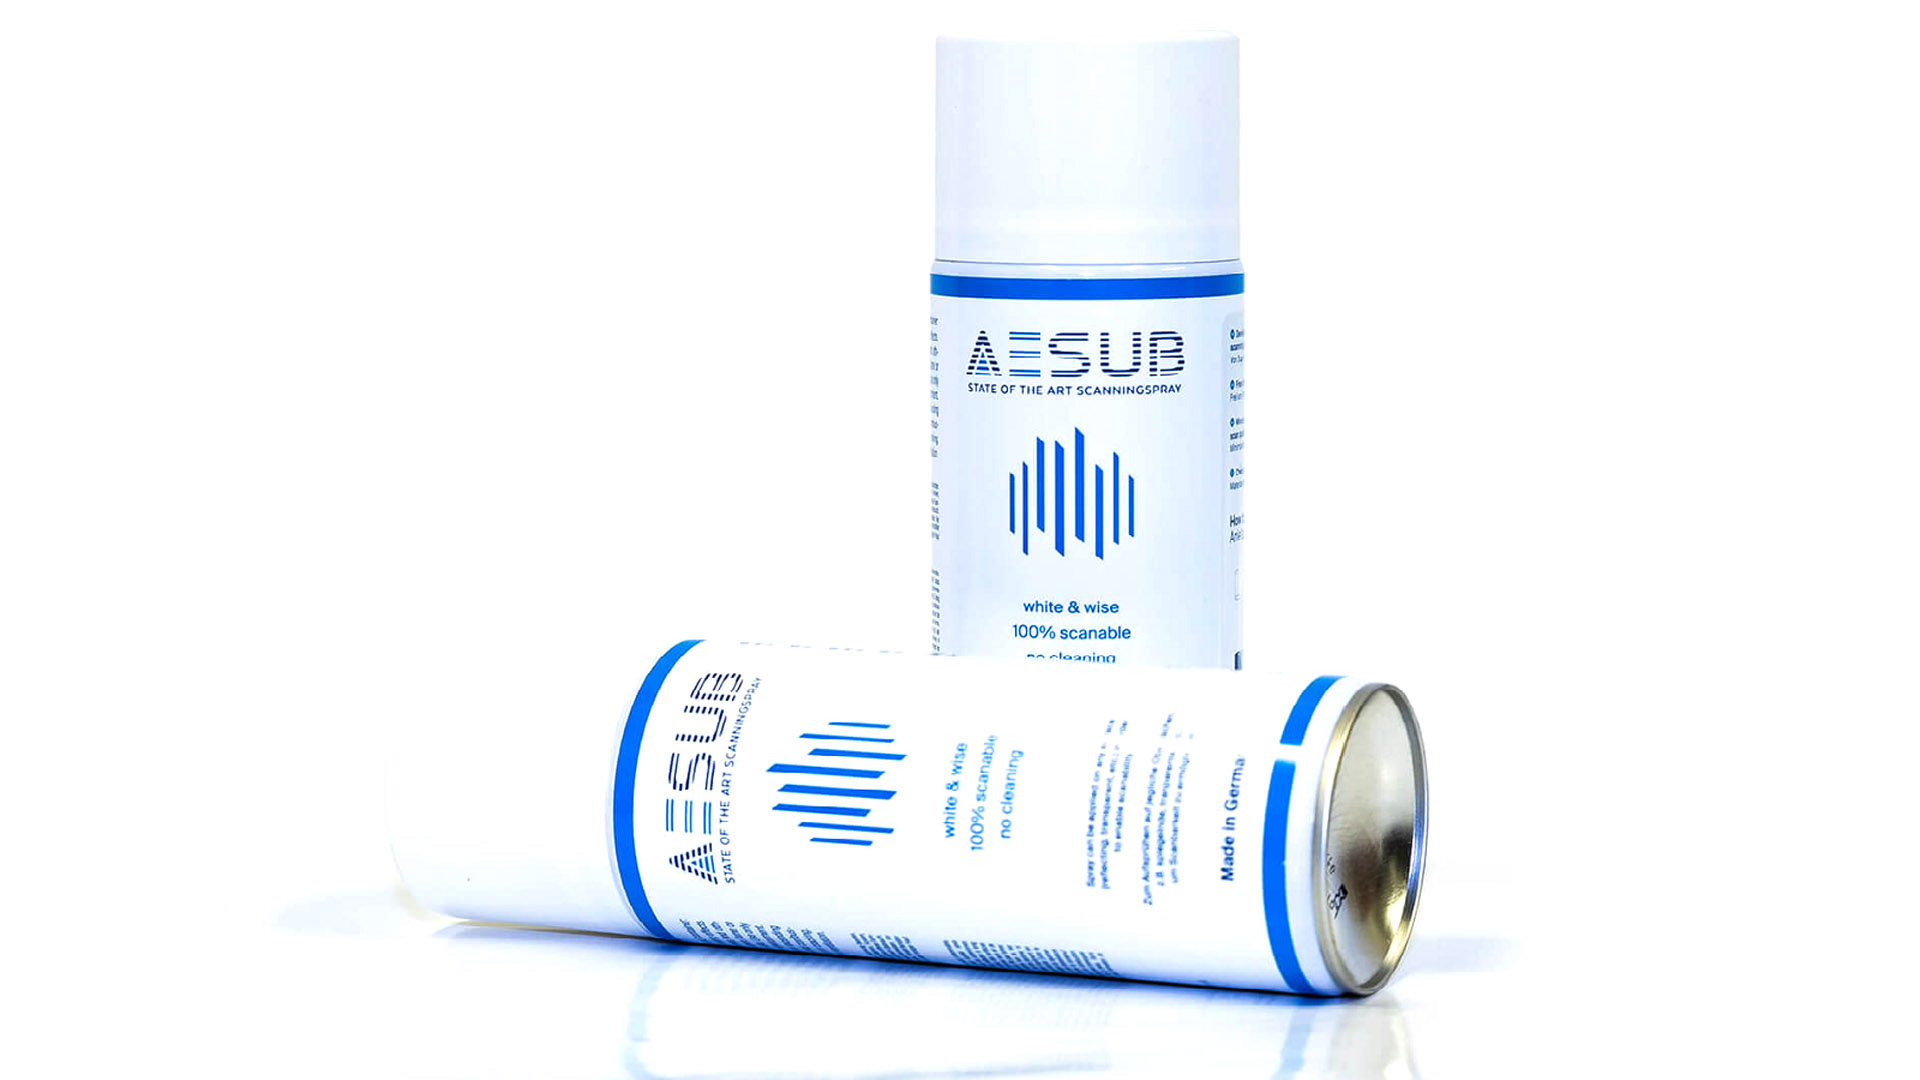
One solution we discovered recently is the rather magical Aesub Spray from the folks at T3dmc.
This is an aerosol spray that gives your part a temporary white-powder coating that allows you to get a decent scan and then disappears over the next hour or two, depending on temperature and general environment.
I’m not entirely sure how it works, or what it was originally used for, and it’s a little costly at £25 a can, but it makes this type of part much less challenging to scan.
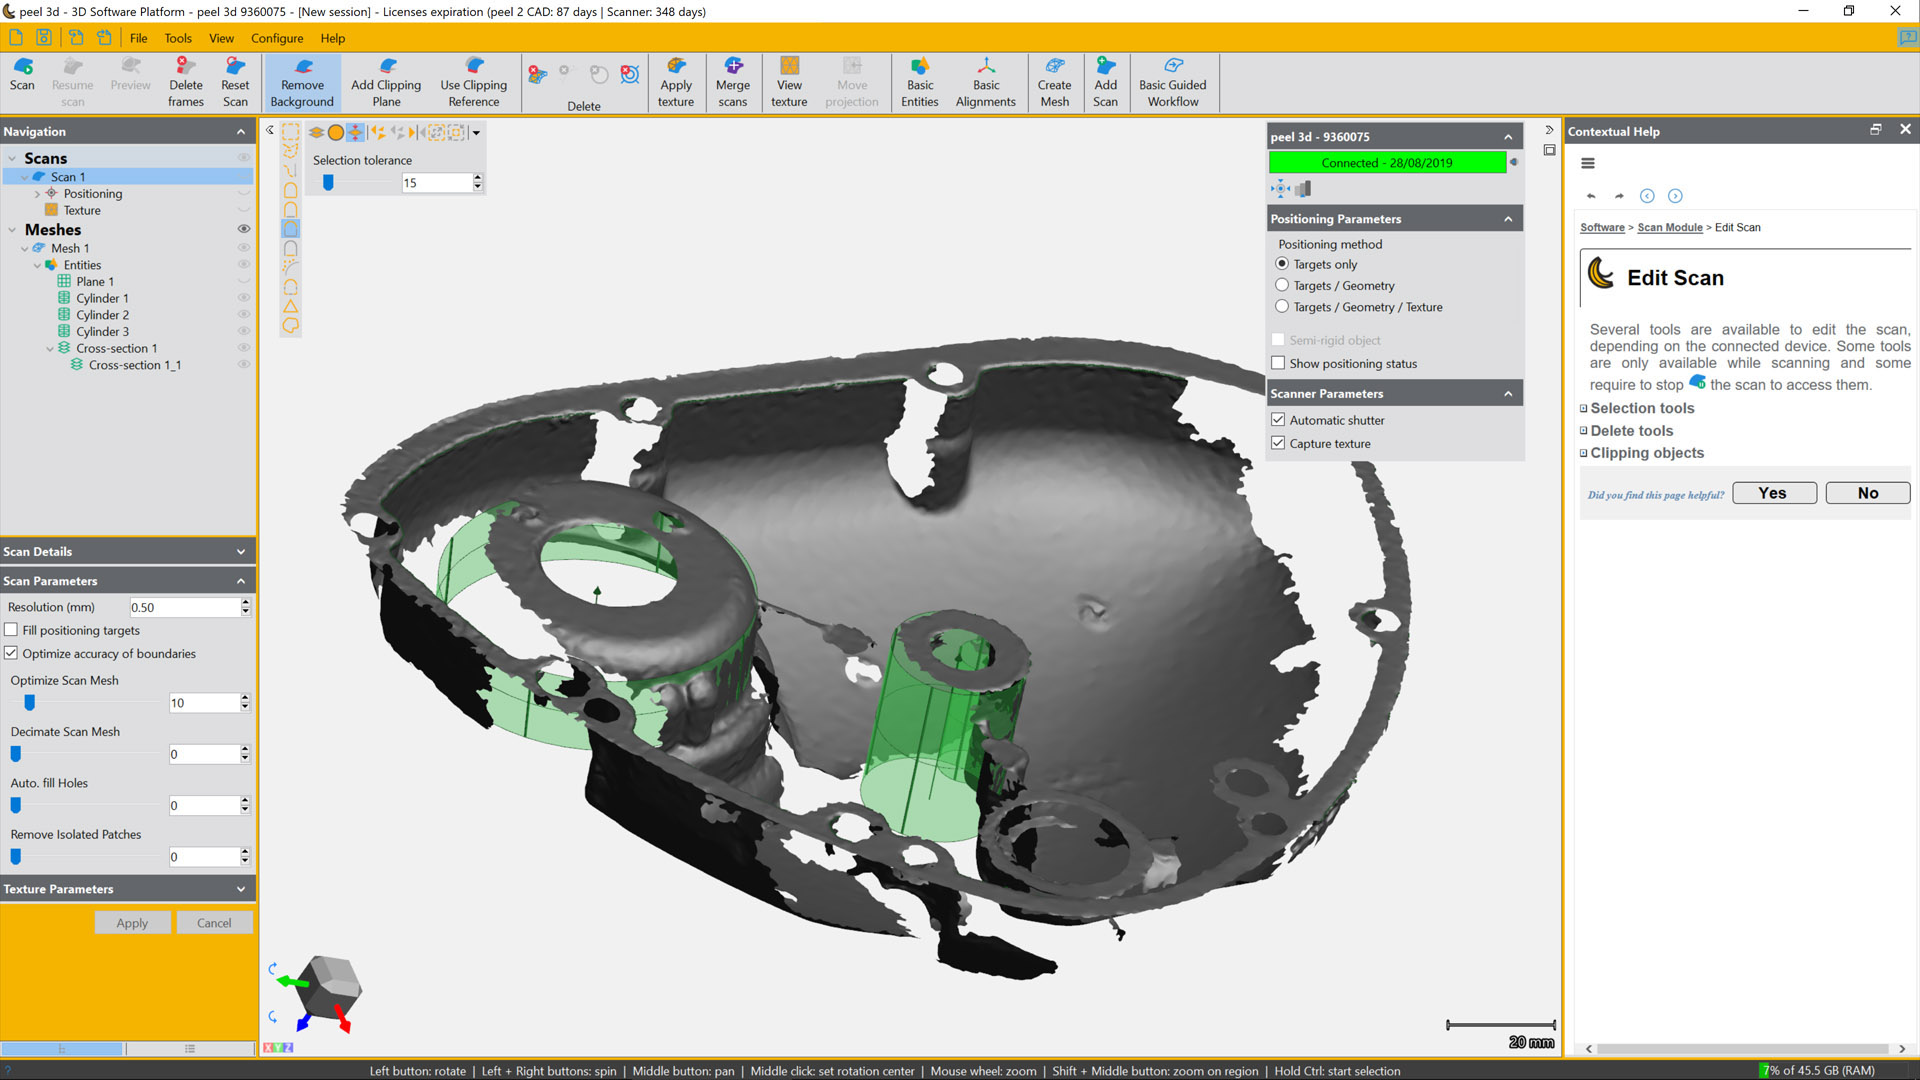
Post-processing of scans
Once your scans are complete, you can then move on to some of the additional tools that Peel 3D includes in the Peel 2 CAD software.
These include those typically associated with post-processing of meshes: smoothing, spike remove, mesh and facet editing, and hole filling.
There are also tools that allow you to build surface or solid geometry, based on your mesh data, ranging from primitive fitting right through to more complex surface-wrapping capabilities.
The primitive fitting tools work much as you would expect, enabling you to fit geometry such as cylinders, planes and such by selecting sections of your mesh.
What’s good to see is that it’s possible to combine these mesh-based references with dial-in values (perhaps taken using more accurate, traditional measurement techniques) and other more useful alignments (such as axes you’ve already defined, for example).
Unless you’re working on very prismatic parts, these types of tools will be most useful for pulling together references for interfacing components, particularly when combined with the mesh data.
This can be done by exporting analytic geometry as both a STEP and an STL of the mesh.
The geometry-wrapping tools are also interesting, particularly if you’re looking to ‘surface up’ portions of your mesh or, indeed, the whole thing.
These allow you to select specific facets to which you want to fit a surface, or alternatively, you can have the system take a go at the complete model.
There are also a number of sectioning tools. I doubt very much whether you’d want to model straight off the back of these, but you should be able to pick and choose points from which to rebuild sketch entities.
The alignment tools will come in handy, too, if you’re looking to integrate your mesh data into workflows.
These will enable you to define an orientation to a sensible set of axes, so you can use data within CAD straight away and not worry about trying to finagle it into a useful orientation.
Your success with these tools will very much depend on the quality of your scan, as well as the results you need to achieve.
Some forward planning here will pay real dividends. Can you get away with a partial scan and capture just the details you need, reducing the overhead of wrapping whole objects, for example?
Are there areas you can fill in using traditional CAD? Might you build up geometry more effectively from sections and more manual measurement techniques?
As is often the way, it’s a case of identifying ways to work smarter, rather than bruteforcing your way through the whole process.
In conclusion
Peel 3D’s scanners aren’t the highest resolution products in their price bracket.
The 0.5mm resolution means that you’re going to struggle to capture super fine detail. But what these products lack in that respect, they more than make up for in terms of ease of use and the usability of the accompanying software – often more critical than the hardware itself.
And, if you’re just looking to capture reference data and geometry from pretty standard engineering parts, then they’re pretty much ideal, not to mention available at a price point that makes them far more attractive than many other systems.
The fact that the Peel 3D software allows you to take your captured scan data and create geometry from it simply makes the whole bundle all the more appealing.
The company’s origins are interesting. Peel 3D is a subsidiary of Creaform, the Canadian handheld scanning specialist.
Once you’ve spent time with the Peel 3D device and its software, it quickly becomes clear that they are built on solid foundations of knowledge and experience.
In summary, there are plenty of similarly priced products out there. Some of them may offer finer resolutions, but very few offer the usability and industry-proven software that Peel 3D does.
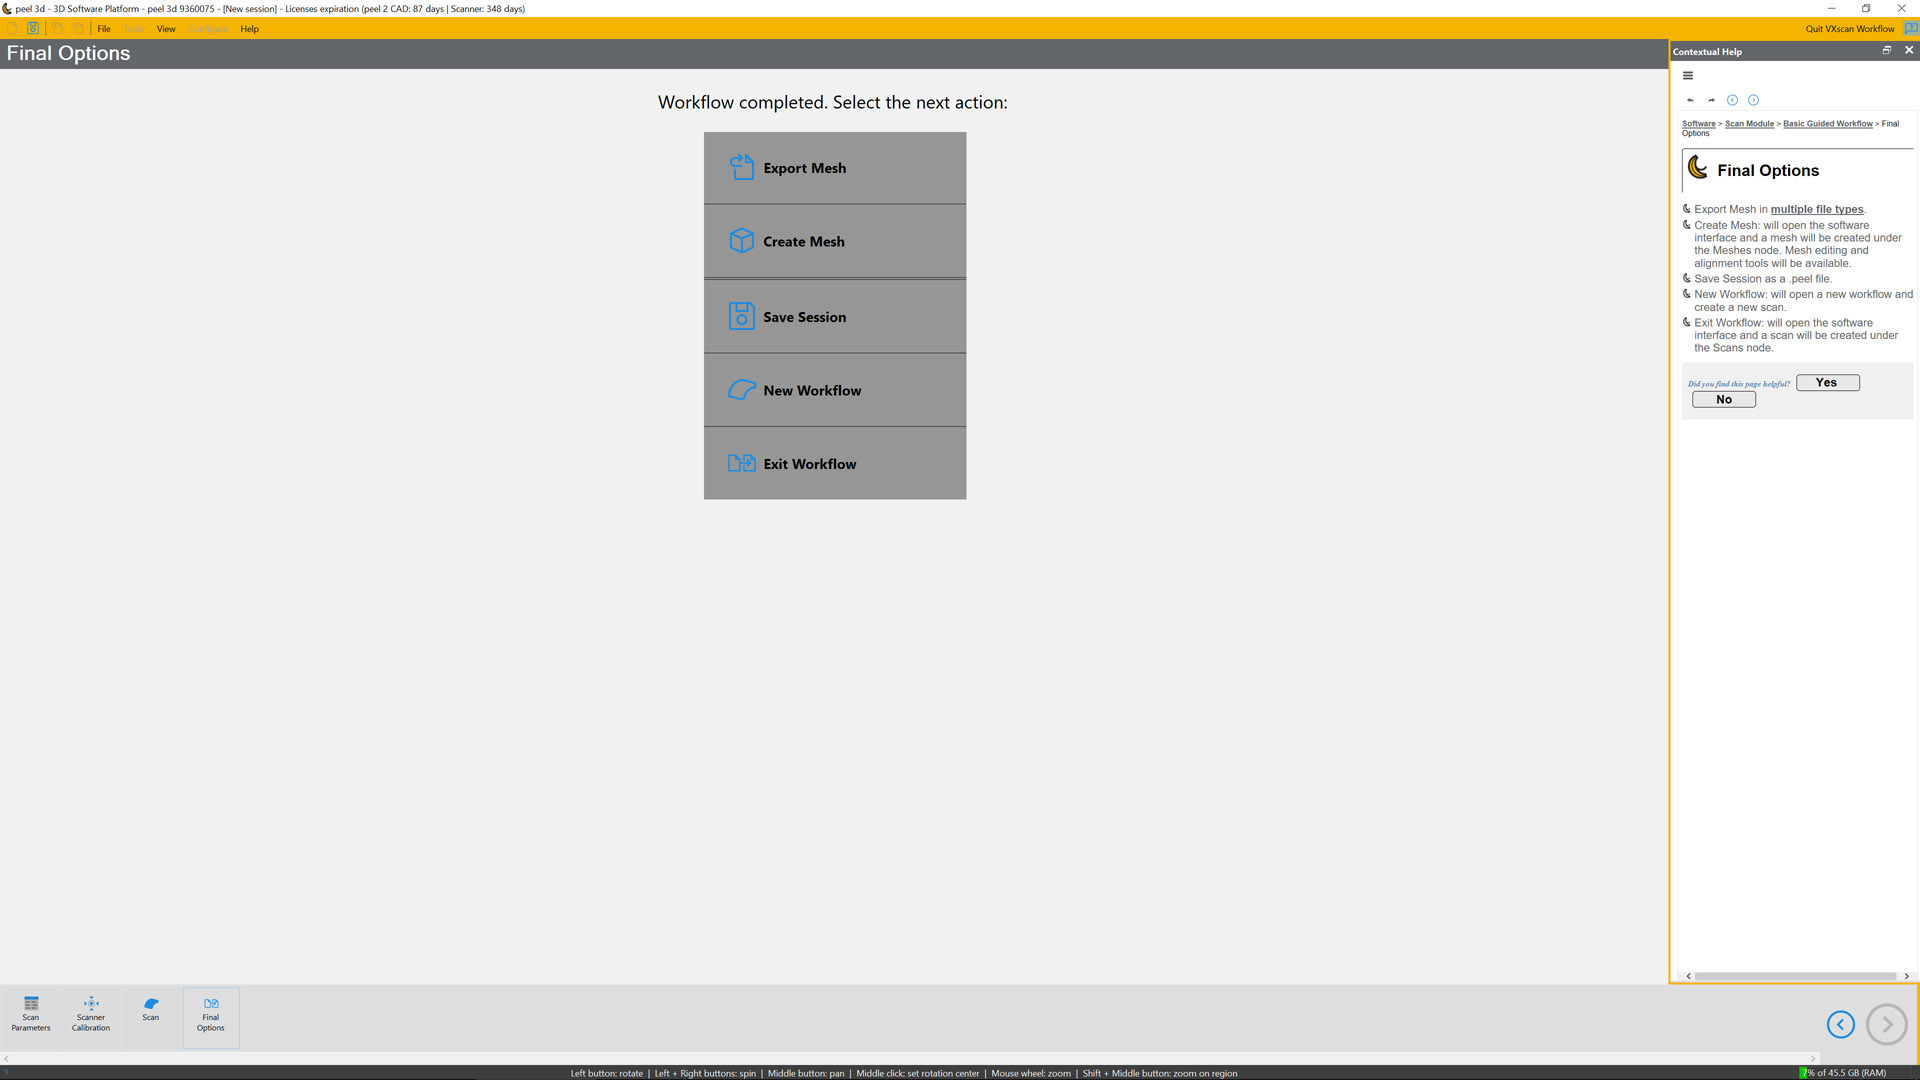
Workflow: From set-up, calibration and first scan job to a final scan exported with fitted 3D geometry in place


3D scanners for design: What else is available?
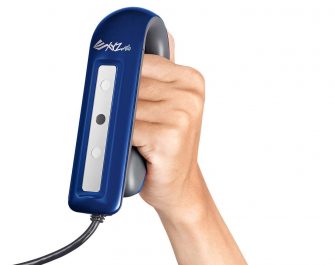
Scanner 2.0
Product: Scanner 2.0
Supplier: XYZPrinting
Weight: 0.145 kg
Wireless/Wired: Wired
Price: £212
Notes: One of the only RealSense depth scanners still commercially available (3D Systems’ Sense was also good, shame they killed it off), XYZ Printing’s Scanner 2.0 has a 250-600mm operating range with a wide scanning distance of 200-1,200mm in full colour.
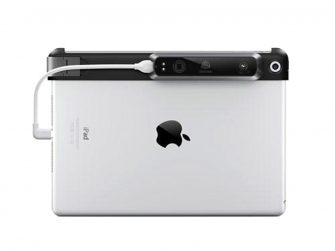
Structure Sensor MK2
Product: Structure Sensor MK2
Supplier: Occipital
Weight: 65 g +
Device Wireless/Wired: Wired +iPad
Price: $527
Notes: Built to piggyback on a variety of Apple devices (typically, the iPad), the second iteration of Stucture Sensor’s device is based on a depth sensor. If you’re looking for an iPad-integrated solution, then this is a nice option to have for quick and dirty scans.

Matter and Form
Product: V2
Supplier: Matter and Form
Weight: 3.13 kg
Wireless/Wired: Wired
Price: $749
Notes: Having emerged from a crowdfunding campaign, the new version of Matter and Form’s nifty foldaway scanner looks impressive for automated scans of more simple projects at lower resolution. These need to fit the device’s turntable (180mm dia x 250mm height).
Einscan Pro 2X Plus
Product: Einscan Pro 2X Plus
Supplier: Shining3D
Weight: 1 Kg + cable
Wireless/Wired: Wired
Price: £5,999
Notes: Shining3D’s EinScan devices have always impressed us with their value for money. The EinScan Pro 2X continues this trend with much improved software. Those looking for higher res scans and automation should consider the upgraded bundle with a driven turntable.
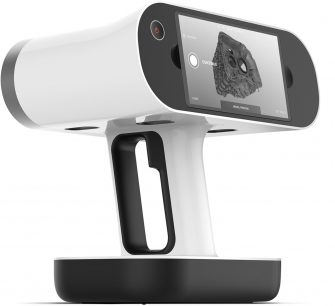 Artec Leo
Product: Leo
Supplier: Artec3D
Weight: 2.6 Kg
Wireless/Wired: Wireless
Price: $25,800
Notes: With a wireless unit, a quarter terabyte of storage and all of your processing on board, Artec 3D’s Leo is an impressive beast with a price tag to match. At 0.5mm resolution, it’s not Artec’s highest resolution model (that’s the Space Spider), but it’s certainly very flexible.