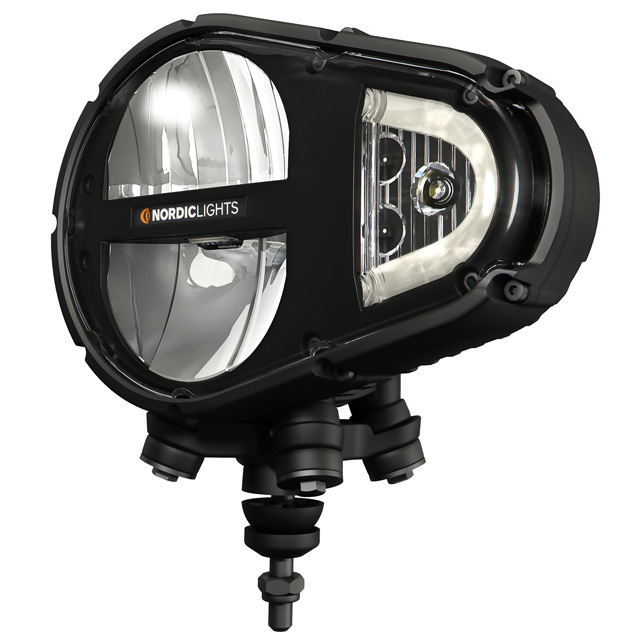
The Sculptor from Nordic Lights is a driving light that combines headlight, indicator and parking light in one unit
Nordic Lights, part of the Herrmans Oy Ab Group, is a Finnish manufacturer of premium, high-tech work and driving lights for heavy-duty vehicles working in extreme conditions. Its products are used in the mining, construction, forestry, material handling and agricultural industries.
The company has become an expert in lighting technology through productive collaboration with partners in different branches of the industry. Continuous strategic investments in R&D, laboratories and the latest simulation software aims to keep Nordic Lights a market leader.
The company’s R&D department plays a pivotal role in the success of the company.
The developers and engineers working there constantly strive to create new and innovative world-class lighting solutions, working closely with manufacturing teams to ensure that only the strongest and most robust industrial lighting products are produced.
These products are subject to rigorous testing and rely on industry-leading inspection methods for quality assurance.
Nordic Lights – Thorough testing procedure
Complete assemblies are typically made from aluminium, steel, plastic and glass.
The components are manufactured through a range of processes, including die-casting, injection moulding and machining.
Before passing inspection, all new products undergo extensive testing, for lumen output and light distribution, vibration and shock, dust and humidity, heat and cold exposure, thermal cycling, thermal protection, electromagnetic compatibility, full functionality, abnormal conditions, chemical resistance and usability.
For inspection purposes, Nordic Lights previously relied on a white light system.
This had drawbacks: a lot of components with ribs, pins and cylindrical holes are used in production, and the white light system typically had difficulty examining these.
Scanning components with narrow or tight features can be incredibly difficult when details are too deep for the light to detect.
As the white light system was only capable of line-of-sight external surface inspection, internal defects were neglected. To gain a comprehensive picture of interiors, samples and products were subject to expensive and time-consuming destructive testing.
Another problem with this inspection solution was that it required parts to be painted and marked with alignment dots.
Painting or powder spraying was needed as a part-preparation method for smooth surfaces to avoid reflections in the white light system. This, however, introduced critical measurement errors on optical surfaces, where precise tolerances are required. Not only did this result in critical errors, but the whole process was slow and time-consuming.
What was needed was a new measurement solution, capable of analysing a variety of materials and both internal and external features with high precision and efficiency.
The team at Nordic Lights consulted with various suppliers to determine the best solution for its requirements.
Carl-Anton Manns, a test engineer at Nordic Lights, took part in the search for the new system to replace the white light system.
“The instrument needed to be able to analyse smooth reflective surfaces with high precision. Being non-destructive was also a big plus,” he explains.
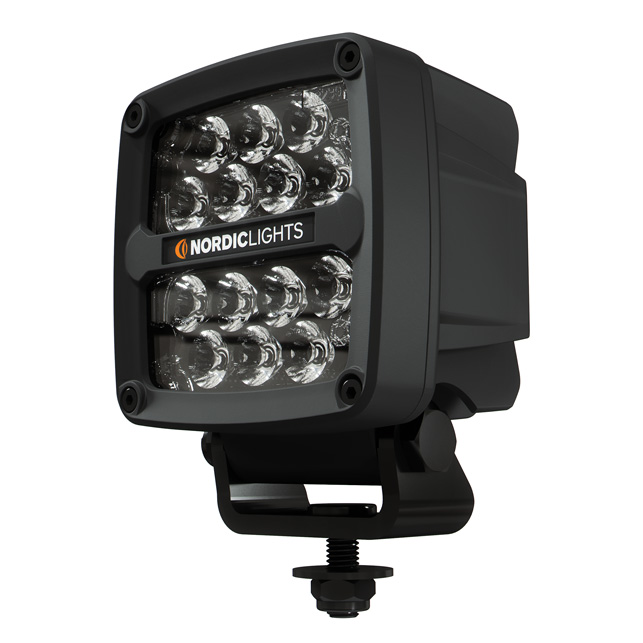
The Scorpius Pro 445 is a very durable work light that withstands shocks of 60G and vibration of 15.3 grams
Nordic Lights – Illuminating the benefits of CT
The Nikon XT H 225 ST with reflection and transmission dual-target system has since been installed at Nordic Lights, for R&D and troubleshooting requirements.
It is critical for all components to be approved before they can be used in product assembly. The primary purpose of the computed tomography (CT) system is to validate supplier samples and new parts, as well as modified parts created from new moulds.
A secondary purpose for the system is troubleshooting.
During the test phase, if failures are identified, complete assemblies can be scanned to identify the root cause without having to open up or destroy the product. For troubleshooting, CT has been used to search for air pockets or voids in the silicone glue between the aluminium housing and the lens, which could cause leakage.
“Verifying the tool that makes the prototype part in the beginning of the project saves a lot of trouble later on. With Nikon CT, we can easily verify all dimensions and check for defects without needing to destroy samples. This is important to preserve the samples for other inspection tests. There are also important savings in time and money by avoiding sample preparation such as painting or cutting,” Manns notes.
A major factor in the decision was the straightforward maintenance of the open tube source. A system with an open tube source makes for lower maintenance costs and vitally, reduced downtime. Fast and competent service from Nikon support engineers was also a critical factor in the decision-making process.
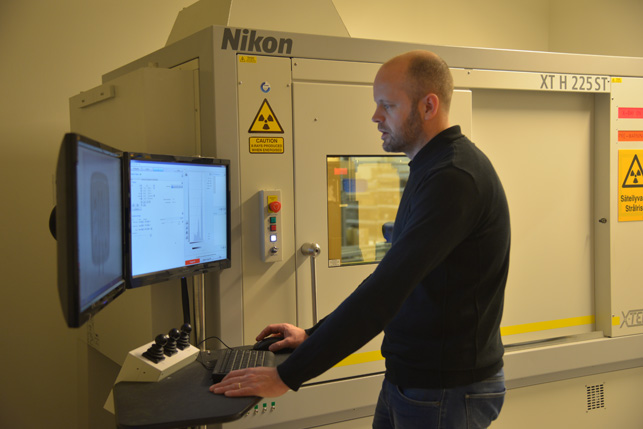
Carl-Anton Manns operates the Nikon Metrology XT H 225 ST, which is used to validate supplier samples and new parts at Nordic Lights
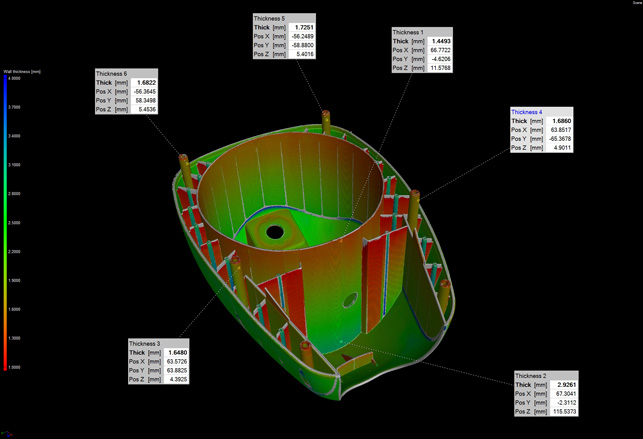
The visual reports detail wall thickness, dimensional inspection and void analysis of the plastic light cover
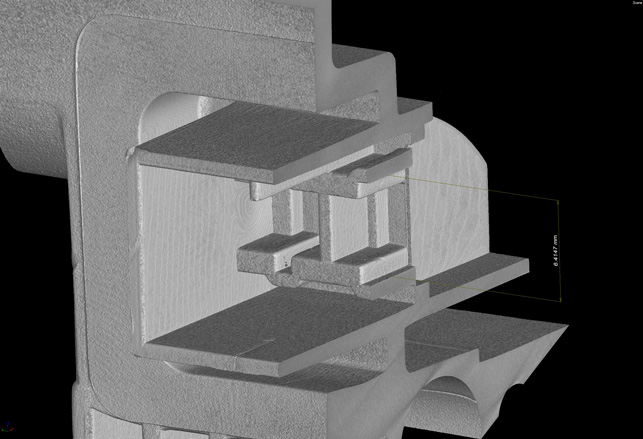
Dimensional inspection of a connector, including areas with limited or no line of sight
A comprehensive upgrade
The Nikon Metrology CT system represents a significant step up from the previous method used in the R&D department of Nordic Lights.
The white light system offered limited repeatability and low speed, which was a hindrance. The new CT system addresses these issues and now makes it possible to scan almost every component before approval. It reveals internal defects, including air pockets and voids, which was not possible with the white light system.
A further advantage the CT system has is that it can provide the precise results for dimensions and tolerances of optical parts, lenses, light guides and reflectors.
With its new, non-destructive inspection system, Nordic Lights has experienced significant time savings, especially during in the development phase. Defects can be identified, traced and eliminated before parts proceed to production. For supplier-submitted samples, new parts or new moulds can be compared to CAD models before being used in the assembly of complete products.
It’s worth noting that, right now, the system’s transmission target isn’t used extensively by Nordic Lights, with the reflection target being the company’s primary tool for now. However, Carl-Anton Manns notes that the transmission target will become useful in the near future, as the high level of detail that can be achieved using it will likely prove to be a significant advantage. In this way, the system is not just providing an immediate solution, but new options for the future, too.

