How small do you need to go with your 3D scanning? DEVELOP3D asked product design specialist Edward Goodwin of Goodwin Hartshorn to test out Artec’s Micro II device, a small-details scanner that packs a big punch. Here’s his verdict
Artec 3D has made a strong name for itself in data capture for product design, first with its handheld Eva and Spider models and more recently with its wireless, AI-driven Leo units.
But on either side of these mid-size handsets, the company has also expanded its large and small-scale capabilities. At the upper end of the scale, we have Artec’s LiDAR-powered Ray units. At the lower end of the scale sits the Artec Micro.
As product designers, we were intrigued by what the new Artec Micro II might offer the design workflow, especially when compared to more ubiquitous handheld units. For what purpose might we end up using this expensive piece of kit? Would it slot neatly into our workflow? Would it change how we approach the design process?
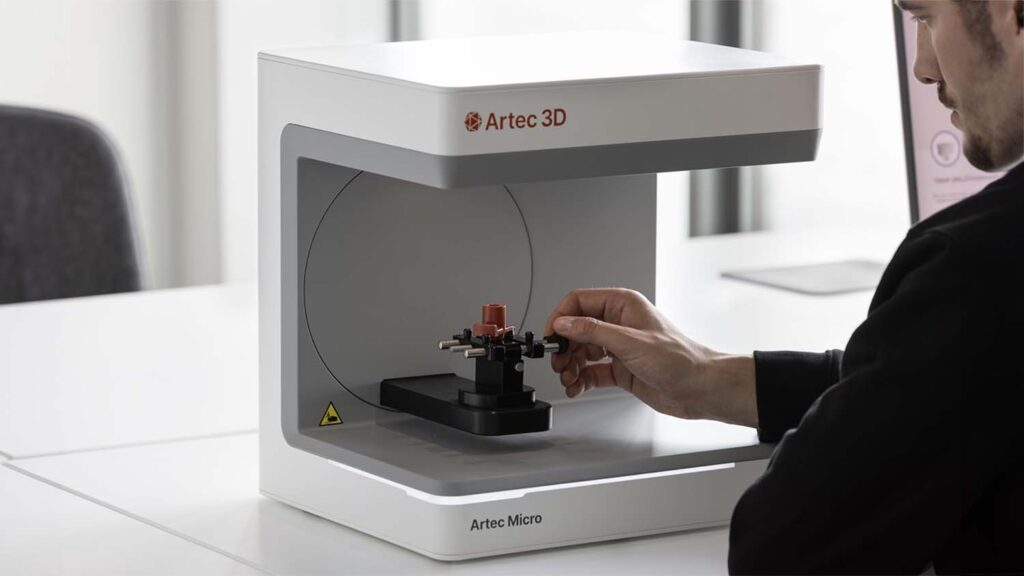
The Artec Micro II is a desktop 3D scanner that, when connected to a suitably specced computer, can scan small objects up to a maximum of 20x20x15cm. Using Artec’s scanning software, and with the right workflow, you can create scans with a staggering accuracy of 5 microns and with a 2-micron repeatability.
Not only do you get the 3D object as a polygon mesh (in a broad range of formats including .stl, .obj, .ply and others), but also you get surface colour and texture data for an amazing level of realism.
This all comes at a cost: €19,800 for the unit and €1,200 per year for the software. It may well be a specialist product, but this price puts the Micro II unit firmly at the mid-tohigh- end market bracket.
After having unboxed the unit and taken in the design – a clean-lined, weighty and professional-looking piece of kit – we connected it up and got to work on implementing the software.
This initial hurdle was fairly torturous, owing to the various validations and updates required. Indeed, our feeling was that the QuickStart guide should concentrate more on how to find and install the software and rather less on what your desk layout should look like. That said, this frustrating experience was relatively short-lived, and eventually we were up and running.
Artec Micro II // Tweaks and alignments
The Artec Studio 20 software quickly took us through the calibration process using a calibration plate supplied with the unit. Through a series of projected checkerboard patterns, the Micro II’s various cameras align and tweak settings until the device is ready to scan properly.
I should note that the plate comes shrouded in a loose-fitting cardboard sleeve, but this flags how important it is to keep the plate spotless. From our point of view, this should be improved – especially when customers are paying €20k. If it’s so important that the plate is kept free of dirt, Artec, then please provide a better cover!
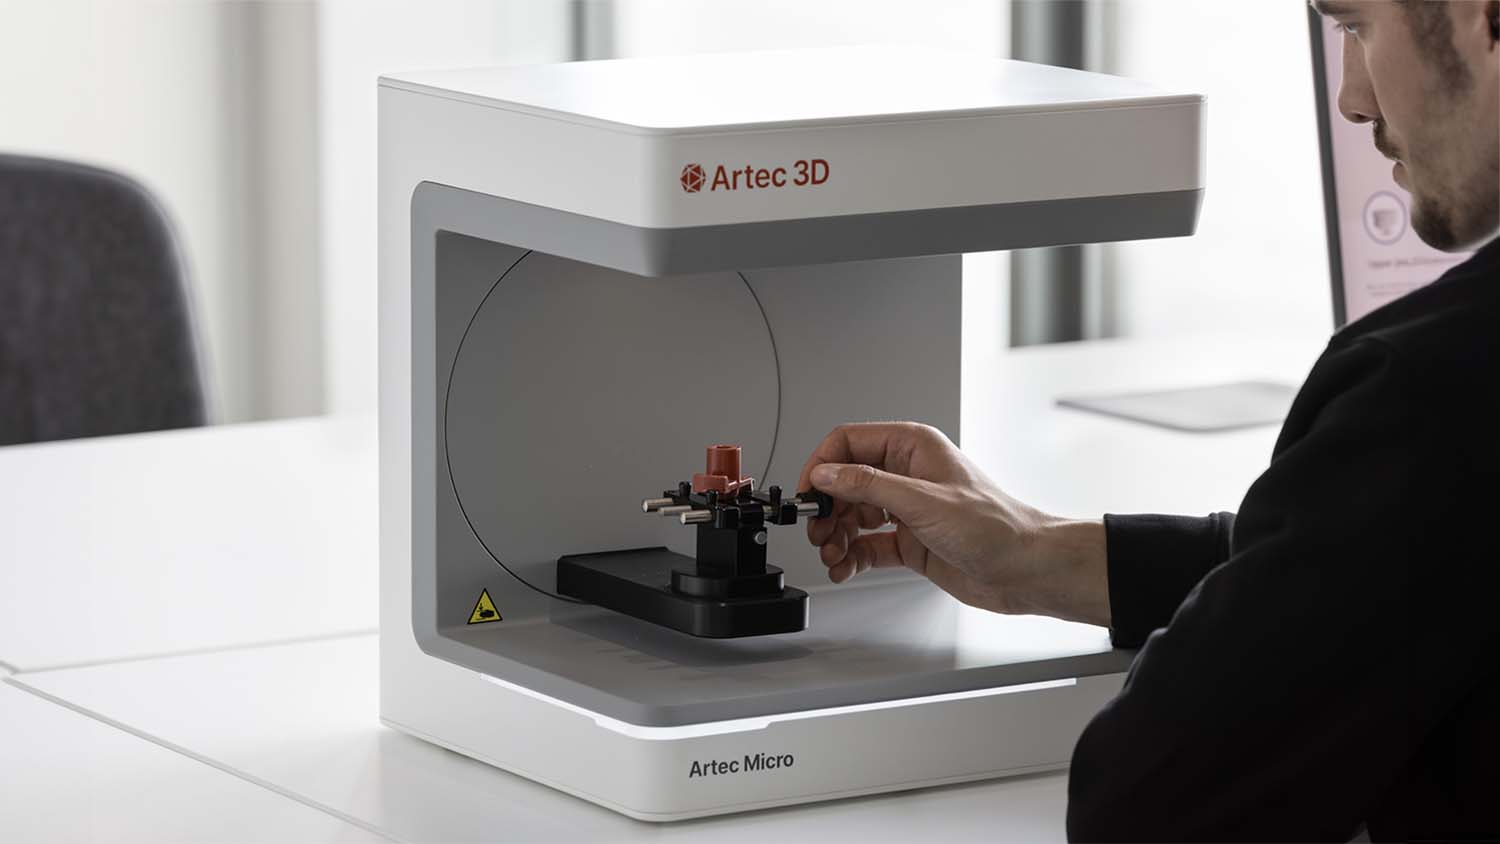
With calibration completed, we were ready to scan. The unit comes with four CNC-machined mounts that allow you to hold differently shaped objects. The first holds flat objects, clamping them with a pair of thumbscrews. The second is rather more lo-fi , using good old Blu-Tack to hold the object. The third is a simple pinch clamp, while the final mount uses the same pinch clamp, but also includes an internal motor to provide an extra axis of rotation. The mounts magnetise into the unit and connect to the mothership through pogo pins.
Needless to say, we dived straight in, using the most complex mount, but soon retreated to the Blu-Tack option.
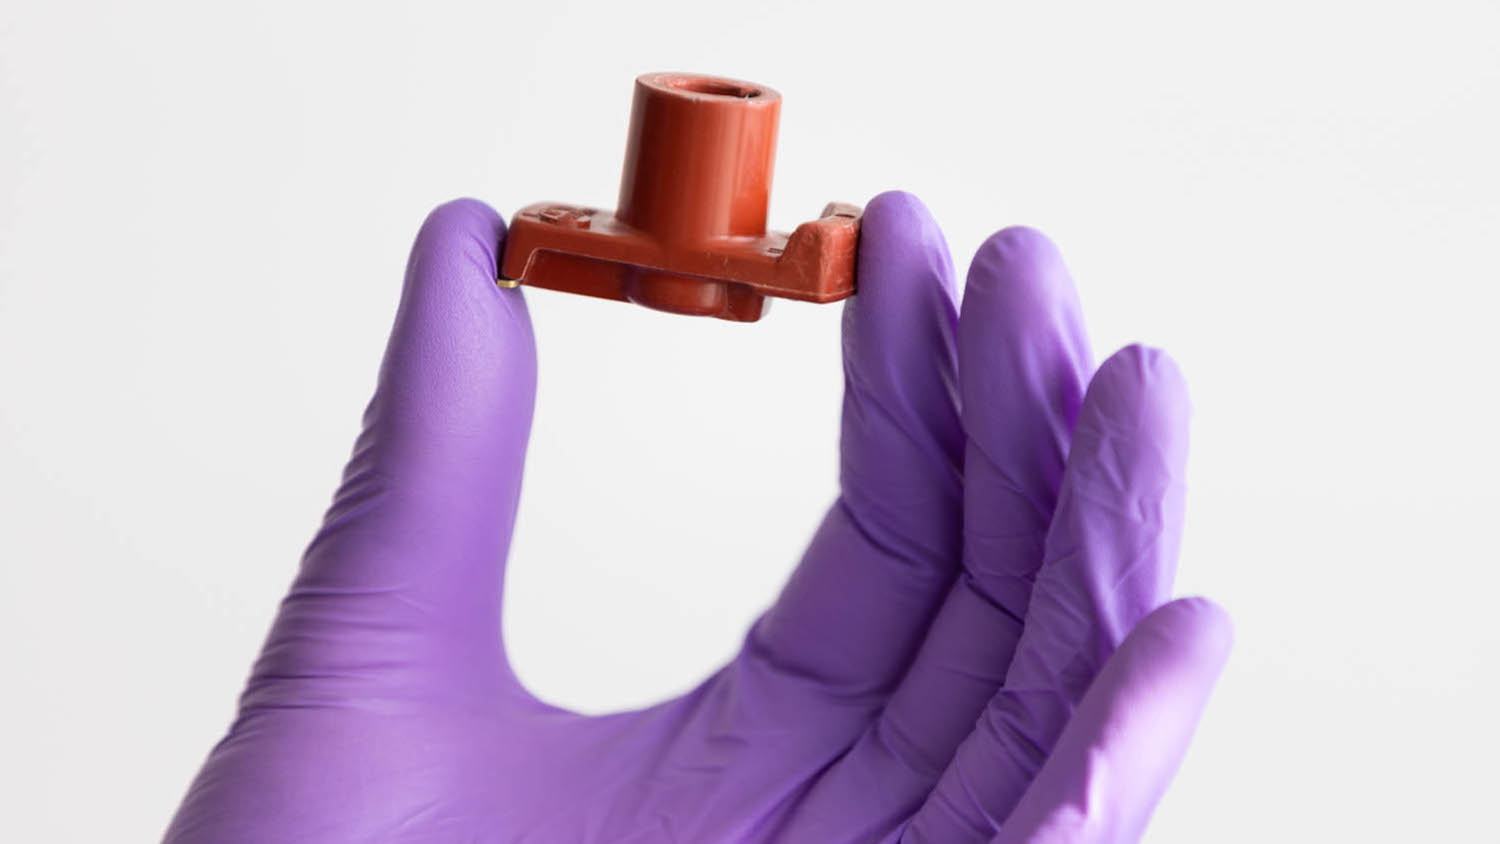
Our first attempts at scanning were not brilliant. We began with a black component with some shine, assuming this would be a straightforward task for a €20k machine. But every time we scanned, the Micro II seemed to see straight through the component, leaving large areas blank. Each scan wasn’t registered to the previous one and the end result was a cloud of disparate partial scans.
We resorted to spraying the object using a scanner spray to help the cameras ‘see’ it properly. This setback did make us question how much quick-and-easy use we might get from the device – but once the component was covered in a suitable spray, the results were much better.
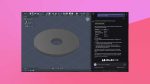
The scanning process involves selecting an appropriate scanner path and quality level and then allowing the unit to do its magic. The path and quality level determines the number of frames required, which can range from a handful to many hundreds.
With each frame captured, the 3D object appears more complete on the screen – a process of steady refinement. Following the first batch, a second scan with the object reoriented allows you to fill in the bits obscured by the mount the first time around. With two or more scans, and using the Studio 20 software, you’re able to delete the mount (which gets captured in the process) and then align things to create a fully rotatable 3D object.

Cosmetic changes
At this point, the software allows for various cosmetic changes that refine the external appearance. It allows you to reduce file sizes by simplifying the geometric data and offers a process to replace scanned point data with CAD primitives such as planes, cylinders and cones.
For more organic shapes, this latter process proves too crude. The ability within the software to replace more complex surfaces would be much more useful and would also help to reduce file sizes.
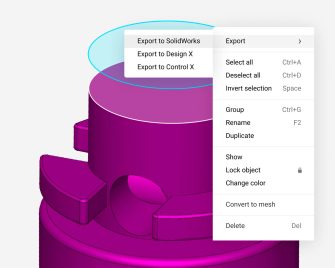
For those embedded in the Solidworks ecosystem, there is a simple process to export directly into CAD, and using cross-sections and other tricks, you can capture data from a scan to help manually translate the point data into a parametric model – but it’s a laborious manual process. There are plug-ins for Solidworks that can simplify the process further, but these come at additional expense, while AI tools are still developing.
The ultimate question we asked ourselves was would the Micro II fit into our design workflow? It was clear that a museum might put it to good use in digitising a collection of small artefacts, or a manufacturer might get value from using it to inspect components to ensure tolerances. Additionally, a jeweller would find great use with the level of detail it can achieve, especially when it comes to creating parts that need to interface with gemstones. But for a pure product design studio? We explored various potential applications.
The first was scanning foam models. In years gone by, we would frequently make 3D foam models to test our designs prior to diving into CAD. This would help us to refine surfaces, rubberstamp an object’s scale, and confirm/improve ergonomics. Whilst we still do this, it’s a way of working that we use less frequently, since translating foam models into CAD (without a scanner) is arduous at best and especially when surfaces are very complex. But this is where the Artec Micro II could help, potentially pivoting our workflow from iteration using rapid prototyping back into more refinement through handmaking.
The second option we explored related to the first direction, but targeting a very different outcome: we explored how scanned, handmade models could be used with AI tools like Vizcom to shortcut directly to rendered images.
Finally, we investigated the Artec Micro II’s potential for scanning finished parts for rendering. The problem with renders is sometimes they can look too perfect. Using scanned data instead of perfect CAD data within a render file can help to give an extra level of reality to the generated image.
With practice, we found the Micro II to be a great little scanner for little things. It captures form accurately and quickly and although the process of translation from scan data to parametric model is still laborious, that’s not the end of the world, especially if you’re happy to pay the extra cost of add-on software.
The resolution of the scans and their accuracy really impressed us, and the lifelike representation could clearly be of real benefit in certain applications. But here’s the rub: the Micro II can only scan little objects. I guess the clue’s in the name.
Indeed, I do wonder where the killer application lies for this piece of kit, particularly for general product design studios. In products like the audio earbuds we design at Goodwin Hartshorn, it was big enough. But for the overear headphones, surgical instruments, loudspeakers, kitchenware products we also develop, it was too small, even for a lot of the component parts.
Ultimately, if this tiny marvel fits scale-wise with your projects, it might be a very useful addition to your workflow. We even see the opportunity for some entrepreneurial type to rent out the device when it’s not being used in-house – kind of like a (small) scanning bureau service – such is the quality of output and its potential value to designers with specialist needs.
This article first appeared in DEVELOP3D Magazine
DEVELOP3D is a publication dedicated to product design + development, from concept to manufacture and the technologies behind it all.
To receive the physical publication or digital issue free, as well as exclusive news and offers, subscribe to DEVELOP3D Magazine here